
NLog is an open-source logging framework that helps to easily configure logging for your .Net applications. It is also flexible to use with any .Net applications including .Net core and standard .Net applications.
Let's create a simple .Net core web application and configure NLog logging.
Step 1:
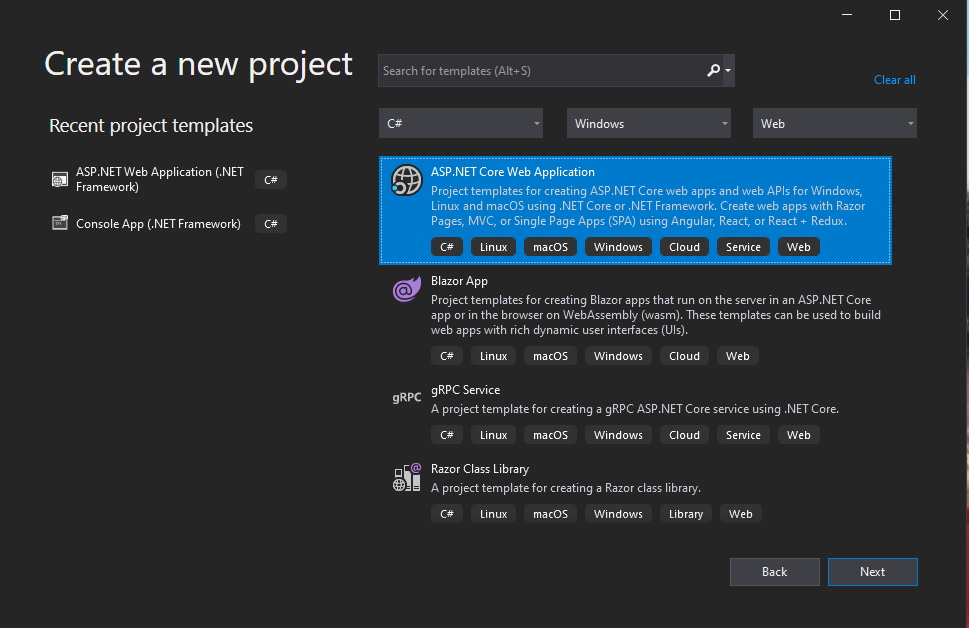
Open Visual Studio 2019 and Select "Create a New Project". Next dialog, Select "ASP.NET Core Web Application" and click Next.,
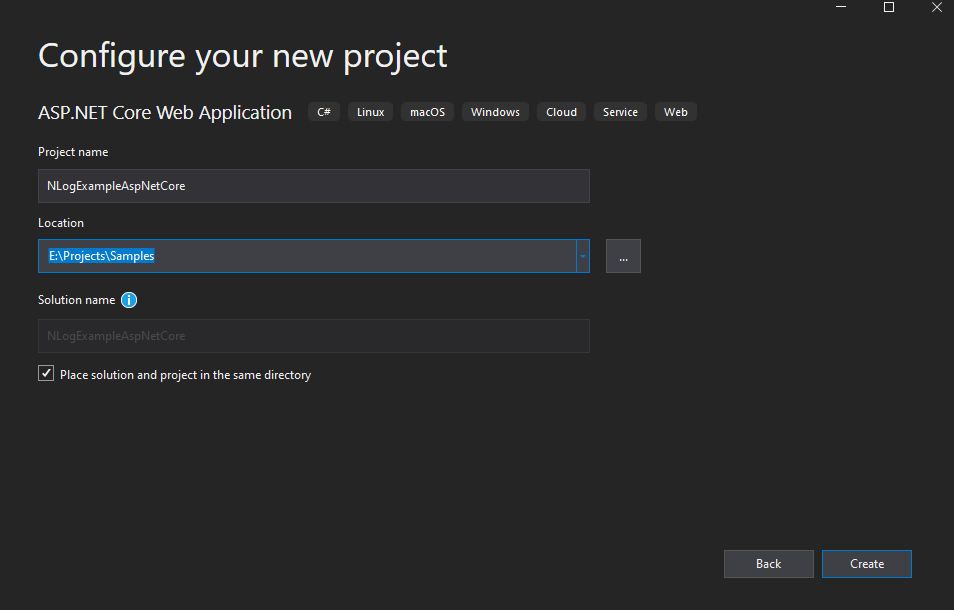
Next dialog, provide Project Name, Location, and Solution Name in the below dialog as shown below,
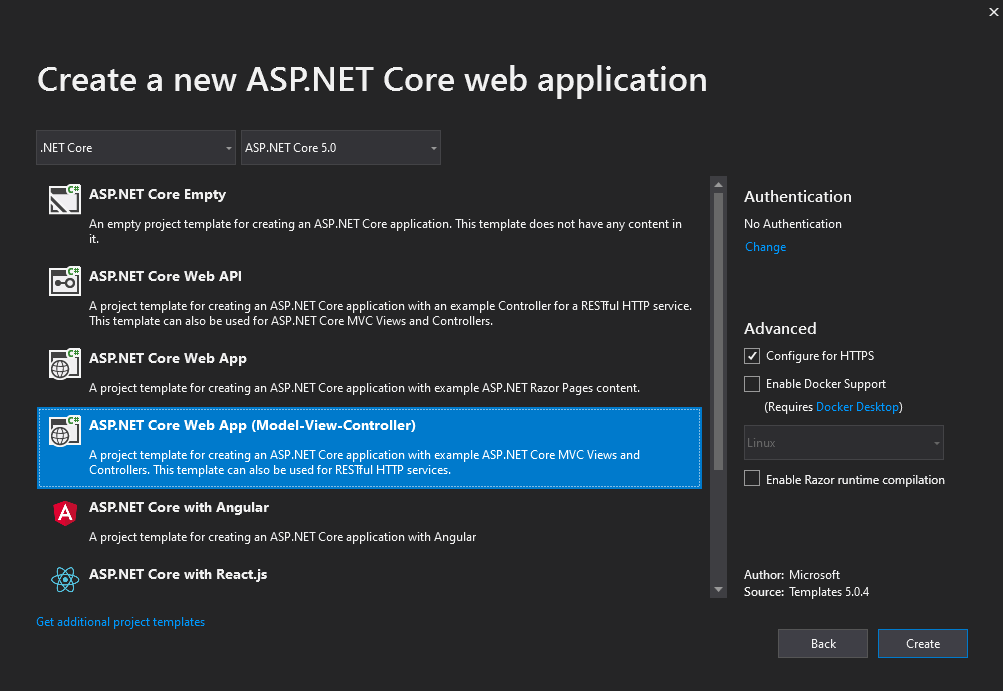
Below dialog, select the ASP.NET Core Web App (Model-View-Controller) template and click Create.
Step 2: Install NLog package
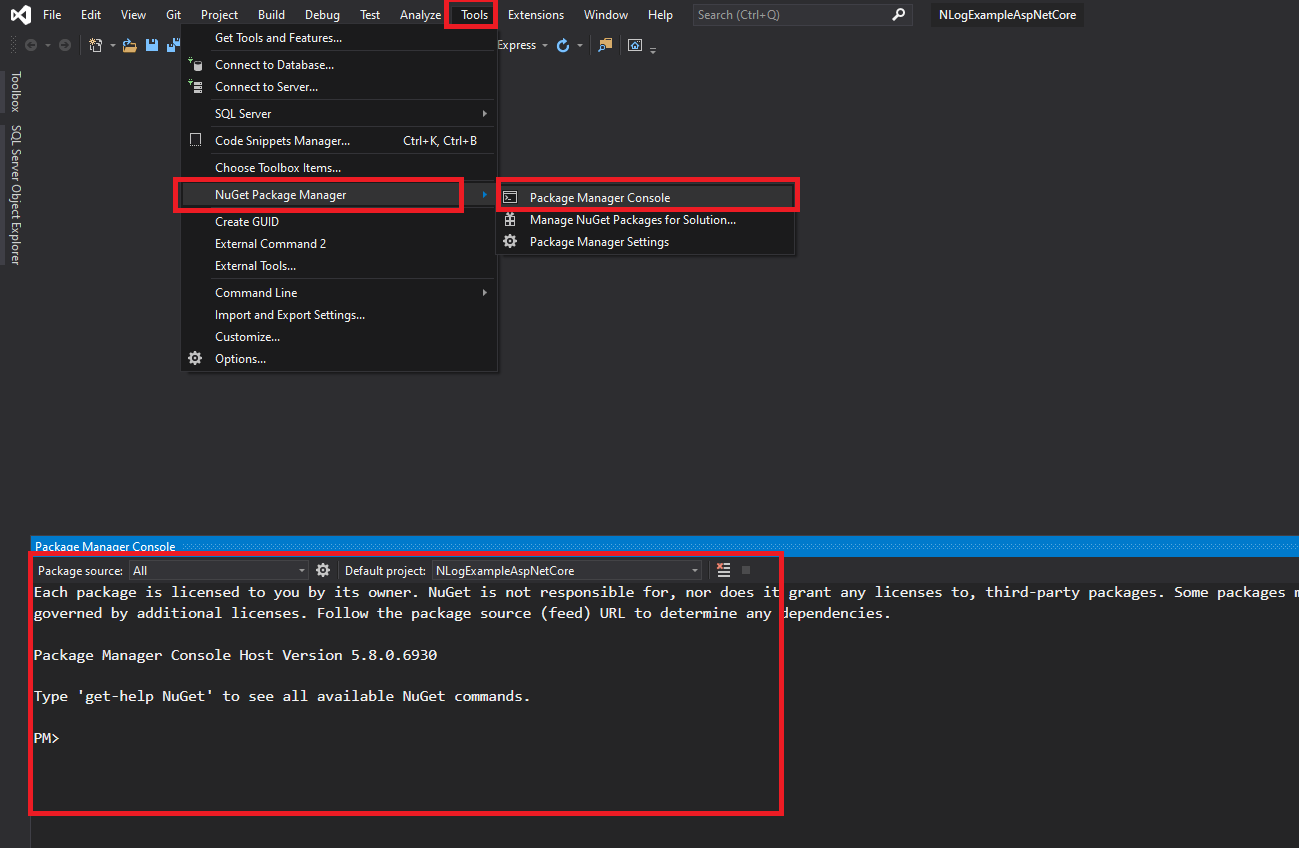
In order to Install NLog package, Go to Tools > NuGet Package Manager > Package Manager Console.
Use below command and package name to install NLog dependency using NuGet,
PM> Install-Package NLog
PM> Install-Package NLog.Web.AspNetCore
Step 3: NLog Configuration - Config file
The NLog configuration file is a simple XML file that is used to hold the config settings related to NLog. The "NLog.config" file will be created in the root folder of the project while installing the NLog dependencies. If not, then create an "NLog.config" file under the root folder of the project like below,
<?xml version="1.0" encoding="utf-8" ?>
<nlog xmlns="http://www.nlog-project.org/schemas/NLog.xsd"
      xmlns:xsi="http://www.w3.org/2001/XMLSchema-instance"
      xsi:schemaLocation="http://www.nlog-project.org/schemas/NLog.xsd NLog.xsd"
      autoReload="true"
      throwExceptions="false">
  <targets>
    <target xsi:type="ColoredConsole" name="consoleTarget"  layout="${longdate} ${uppercase:${level}} ${message}" />
  </targets>
  <rules>
    <logger name="myLogger" minlevel="Debug" writeTo="consoleTarget" />
  </rules>
</nlog>
The file contains two main elements that are target and rules.
- The target element is used to define the target log file path, name, and other target details.
- The rules element is used to configure the rules of loggers, we can configure minimum and maximum level of logs for each logger.
Logger Layout renderers:
- ${level} – Log Level.
- ${exception} – Returns the passed exception message.
- ${logger} – Returns the related logger name.
- ${basedir} - Returns current application domain's base directory.
- ${currentdir} - Returns the current working directory of the application.
- ${newline} – New line to the log.
- ${stacktrace} – Returns the stack trace.
- ${date} – Gets current date and time.
- ${hostname} – Gets current machine name.
- ${processname} – Gets current process Name.
For more layout renders, refer to the official website Configuration options: Layout Renderers.
Now, let's update the config file with the log file name with the format using the layout render options. see the updated file below,
<?xml version="1.0" encoding="utf-8" ?>
<nlog xmlns="http://www.nlog-project.org/schemas/NLog.xsd"
      xmlns:xsi="http://www.w3.org/2001/XMLSchema-instance"
      xsi:schemaLocation="http://www.nlog-project.org/schemas/NLog.xsd NLog.xsd"
      autoReload="true">
  <targets>
    <target xsi:type="File" name="fileTarget" fileName="${basedir}/logs/${shortdate}.log" layout="${longdate} ${uppercase:${level}} ${message}" />
    <target xsi:type="ColoredConsole" name="consoleTarget"  layout="${longdate} ${uppercase:${level}} ${message}" />
  </targets>
 <rules>
    <logger name="*" minlevel="Trace" writeTo="consoleTarget" />
    <logger name="Microsoft.*" maxlevel="Info" final="true" />
    <logger name="*" minlevel="Trace" writeTo="fileTarget" />
  </rules>
</nlog>
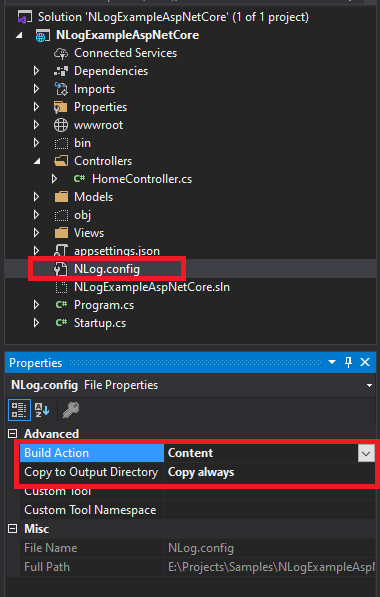
The "Nlog.config" file needs to be copied to the build directory every time you build the application. So we need to change the property settings for this file, right-click on NLog.config and click properties and change the value for ‘Copy to output directory" to ‘Copy Always’ or ‘Copy if newer’ as shown below.
Step 4: NLog Configuration - Asp.Net Core
Open Program.cs file and update the below changes. In the below code, we configure the NLog logger class and capture the error while creating the host builder.
using Microsoft.AspNetCore;
using Microsoft.AspNetCore.Hosting;
using Microsoft.Extensions.Configuration;
using Microsoft.Extensions.Hosting;
using Microsoft.Extensions.Logging;
using NLog.Web;
using System;
using System.Collections.Generic;
using System.Linq;
using System.Threading.Tasks;

namespace NLogExampleAspNetCore
{
    public class Program
    {
        public static void Main(string[] args)
        {
            var logger = NLog.Web.NLogBuilder.ConfigureNLog("NLog.config").GetCurrentClassLogger();
            try
            {
                logger.Debug("Application Started....");
                CreateHostBuilder(args).Build().Run();
            }
            catch (Exception exception)
            {
                logger.Error(exception, "Exception during execution.");
                throw;
            }
            finally
            {
                NLog.LogManager.Shutdown();
            }
        }

        public static IHostBuilder CreateHostBuilder(string[] args) =>
        Host.CreateDefaultBuilder(args)
            .ConfigureWebHostDefaults(webBuilder =>
            {
                webBuilder.UseStartup<Startup>();
            })
            .ConfigureLogging(logging =>
            {
                logging.ClearProviders();
                logging.SetMinimumLevel(Microsoft.Extensions.Logging.LogLevel.Trace);
            })
            .UseNLog();
    }
}
Step 5: How to test NLog logging in ASP.NET Core application?
In order to test the NLog logging, we can inject the logger class into the home controller constructor (the logger class is available in every controller) and log the information, error messages as shown below,
public class HomeController : Controller
{
    // Initilise logger class
	private readonly ILogger<HomeController> _logger;

    // Inject logger dependencies
	public HomeController(ILogger<HomeController> logger)
	{
		_logger = logger;
	}

	public IActionResult Index()
	{
        // Log information message
		_logger.LogInformation("Home Controller is Invoked");

		try
		{
			var val = 1;
			var i = val / 0;
		}
		catch
		{
           // Log error/exception message
			_logger.LogError("Exception thrown...");
		}

		return View();
	}
}
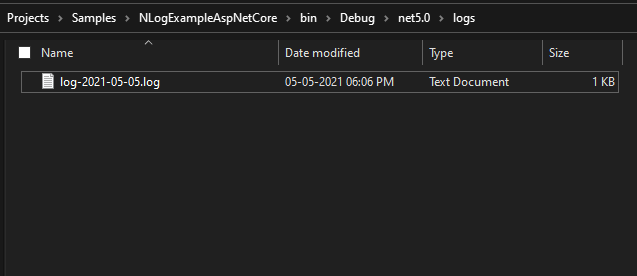
Now, Run the application and see the logs folder on the below location as shown below, you will see the log-YYYY-MM-DD.log file which contains the log information.
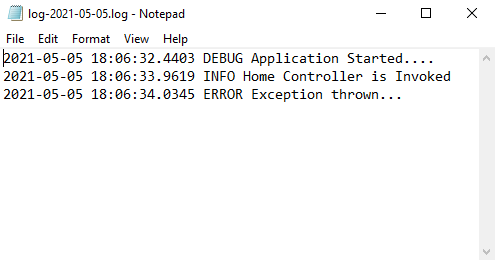
If you open the log file, you will find the logging details as shown below,
Comments (0)