
This article shows how to build CRUD Operations in ASP.NET Core Web API Using Entity Framework Core and provides step by step explanations for easy understandings.
ASP.NET Core provides support to creating RESTful services, also known as web APIs. Entity Framework (EF) is an O/RM framework (Object/Relational Mapping). EF enables .NET developers to work with a database using .NET objects and provides an automated mechanism for accessing and storing the data in the database.
Step 1: Creating a new Web API project
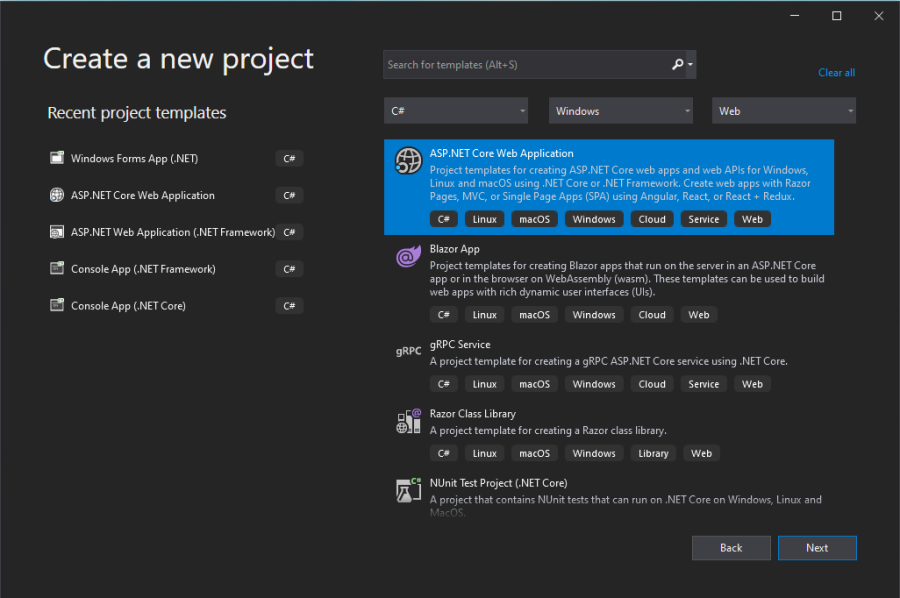
Open Visual Studio 2019 and click "Create a new project" and choose ASP.NET Core Web Application.
Step 2:
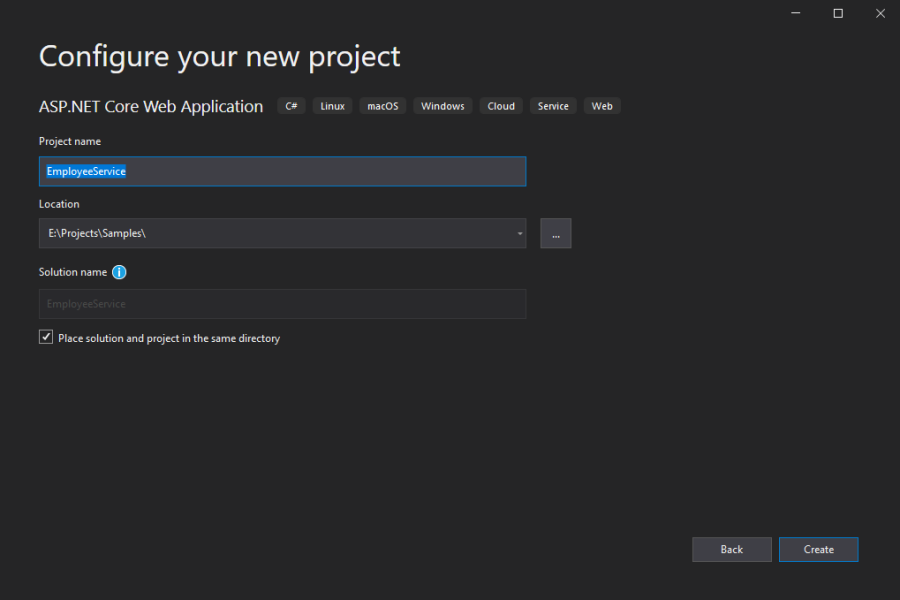
In the next step, provide the project name as "EmployeeService" and select the location.
Step 3:
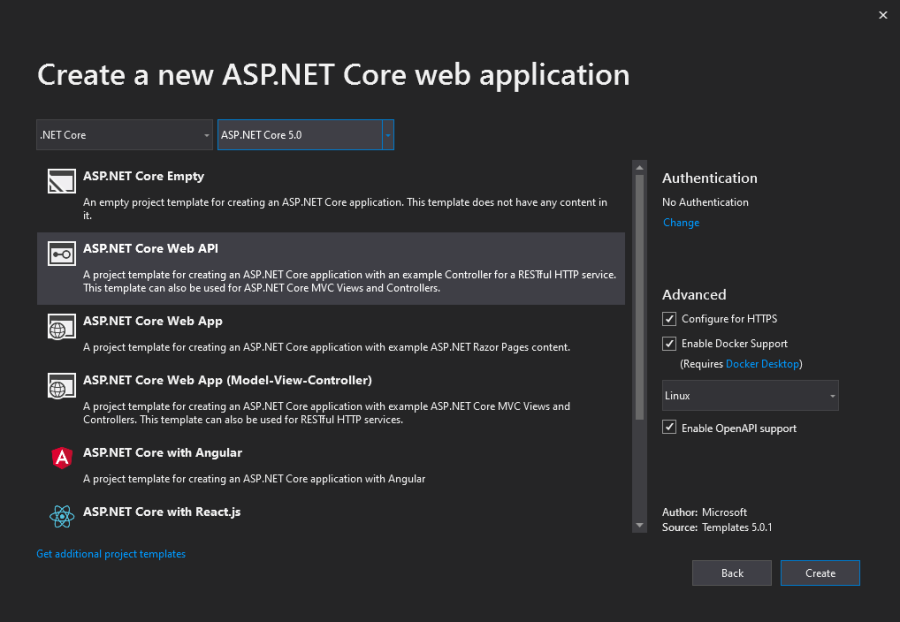
Next, choose ASP.NET Core 5.0 and ASP.NET Core Web API template and make sure that the “Enable Docker Support” option is selected with OS type as Linux. (We can also use IISExpress to run the Web API).
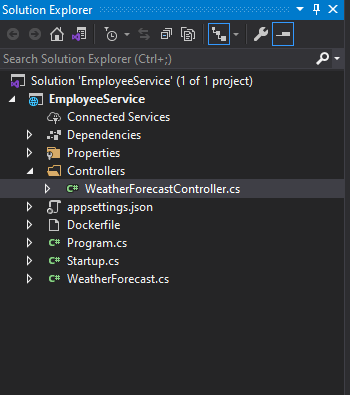
The solution will look like the below structure, by default "WeatherForecaseController" is created. We can remove this since it is not required and only for demo purposes.
Step 4: Add Models
Add a new folder named “Models” to the project and add a class named "Employee" under the folder.
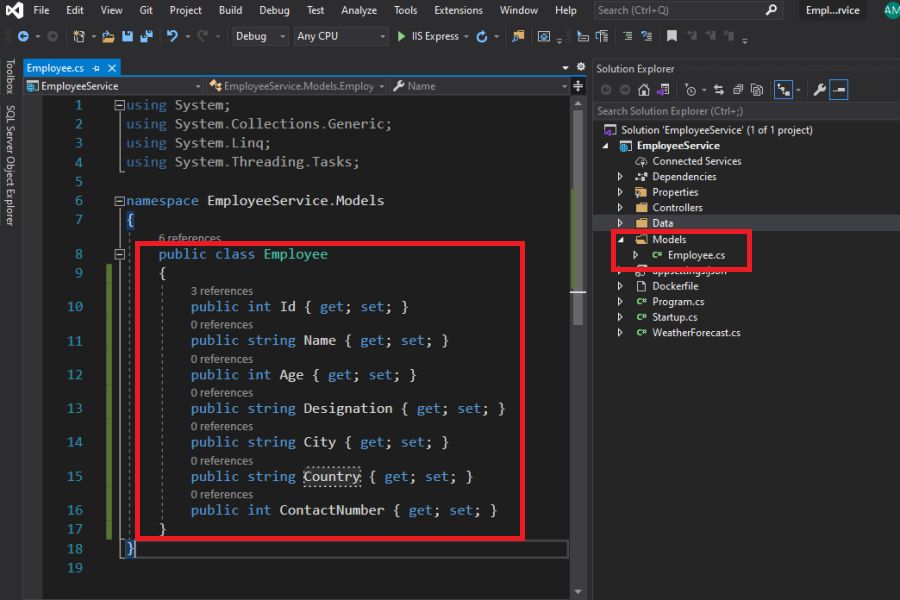
namespace EmployeeService.Models
{
    public class Employee
    {
		public int Id { get; set; }
		public string Name { get; set; }
		public int Age { get; set; }
		public string Designation { get; set; }
		public string City { get; set; }
		public string Country { get; set; }
		public int ContactNumber { get; set; }
	}
}
Step 4: Add Entity Framework Database Context
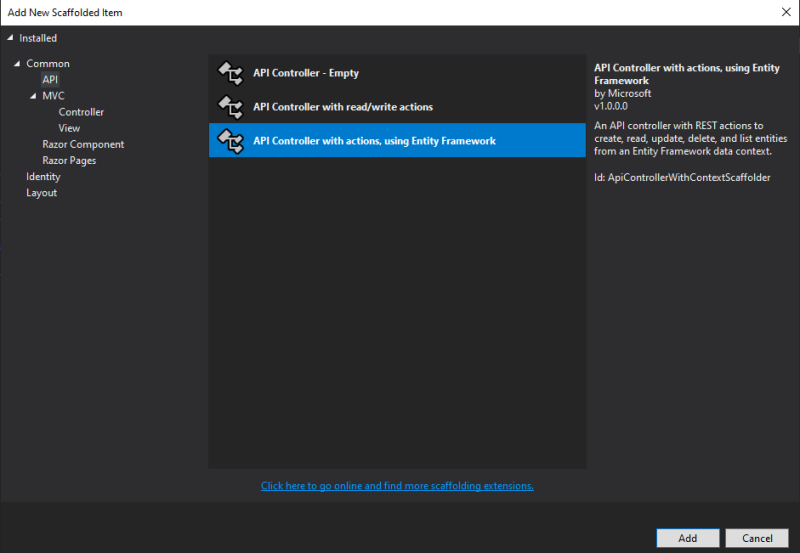
Right-click the Controllers folder and select Add -> Controller -> API controller with actions, using Entity Framework.
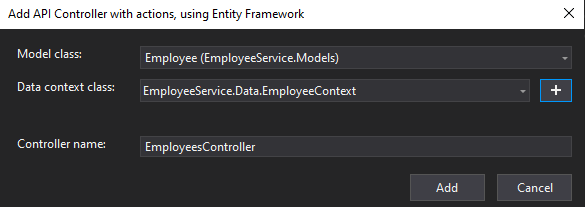
Select the model class name as Employee and Click the + button and add the EmployeeContext.
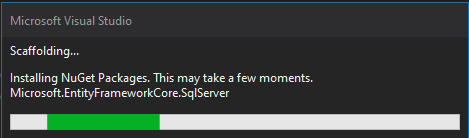
Once you click the Add button, Visual Studio will automatically add the necessary NuGet packages and create a new database context. (you will see the installation progress as shown below)
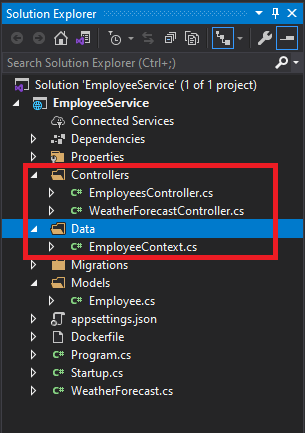
You will see the EmployeeContext file in the Data folder and EmployeesController with API actions under the Controller folder,
EmployeesContext.cs
using Microsoft.EntityFrameworkCore;
namespace EmployeeService.Data
{
    public class EmployeeContext : DbContext
    {
        public EmployeeContext (DbContextOptions<EmployeeContext> options)
            : base(options)
        {
        }
        public DbSet<EmployeeService.Models.Employee> Employee { get; set; }
    }
}
EmployeesController.cs
using System;
using System.Collections.Generic;
using System.Linq;
using System.Threading.Tasks;
using Microsoft.AspNetCore.Http;
using Microsoft.AspNetCore.Mvc;
using Microsoft.EntityFrameworkCore;
using EmployeeService.Data;
using EmployeeService.Models;

namespace EmployeeService.Controllers
{
    [Route("api/[controller]")]
    [ApiController]
    public class EmployeesController : ControllerBase
    {
        private readonly EmployeeContext _context;

        public EmployeesController(EmployeeContext context)
        {
            _context = context;
        }

        // GET: api/Employees
        [HttpGet]
        public async Task<ActionResult<IEnumerable<Employee>>> GetEmployee()
        {
            return await _context.Employee.ToListAsync();
        }

        // GET: api/Employees/5
        [HttpGet("{id}")]
        public async Task<ActionResult<Employee>> GetEmployee(int id)
        {
            var employee = await _context.Employee.FindAsync(id);

            if (employee == null)
            {
                return NotFound();
            }

            return employee;
        }

        // PUT: api/Employees/5
        // To protect from overposting attacks, see https://go.microsoft.com/fwlink/?linkid=2123754
        [HttpPut("{id}")]
        public async Task<IActionResult> PutEmployee(int id, Employee employee)
        {
            if (id != employee.Id)
            {
                return BadRequest();
            }

            _context.Entry(employee).State = EntityState.Modified;

            try
            {
                await _context.SaveChangesAsync();
            }
            catch (DbUpdateConcurrencyException)
            {
                if (!EmployeeExists(id))
                {
                    return NotFound();
                }
                else
                {
                    throw;
                }
            }

            return NoContent();
        }

        // POST: api/Employees
        // To protect from overposting attacks, see https://go.microsoft.com/fwlink/?linkid=2123754
        [HttpPost]
        public async Task<ActionResult<Employee>> PostEmployee(Employee employee)
        {
            _context.Employee.Add(employee);
            await _context.SaveChangesAsync();

            return CreatedAtAction("GetEmployee", new { id = employee.Id }, employee);
        }

        // DELETE: api/Employees/5
        [HttpDelete("{id}")]
        public async Task<IActionResult> DeleteEmployee(int id)
        {
            var employee = await _context.Employee.FindAsync(id);
            if (employee == null)
            {
                return NotFound();
            }

            _context.Employee.Remove(employee);
            await _context.SaveChangesAsync();

            return NoContent();
        }

        private bool EmployeeExists(int id)
        {
            return _context.Employee.Any(e => e.Id == id);
        }
    }
}
The above Employees controller, you will see the API methods like GET, POST, PUT and DELETE. This code will work without any modification. All the methods returns the data in JSON format.
In RESTful API, we will use the GetEmployee method to get the data from the database, PostEmployee to insert the data, PutEmployee to update the data, and DeleteEmployee to delete the data from the database.
Step 5: Setup Migration
Before migration you have to modify the database connection, this will be found in appsettings.json file as shown below,
 "ConnectionStrings": {
    "EmployeeContext": "Server=localhost\\SQLExpress;Database=EmployeeContextDb;Trusted_Connection=True;MultipleActiveResultSets=true"
  }
The above connection string was created when we create the Entity Framework Database Context. You can also use your localDb instead of a SQL database. But here in this example, we will use SQL database only.
To enable migrations, Click Tools -> NuGet Package Manager -> Package Manager Console,
Run this command, Add-Migration EmployeeContextDb
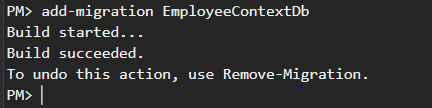
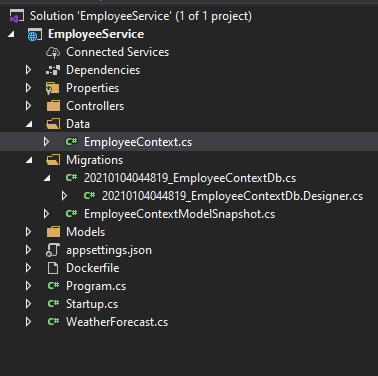
You will see the above message once the command ran successfully and also you will see the filer 20210104044819_EmployeeContextDb.cs and EmployeeContextModelSnapshot.cs under the Migrations folder (see below).
Step 6: Create a Database
You have to execute the below command in Package Manager Console to create a database,
Update-Database -verbose
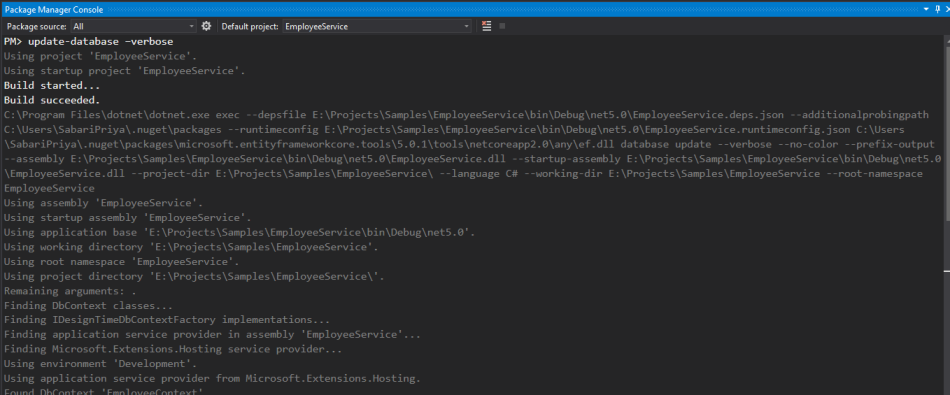
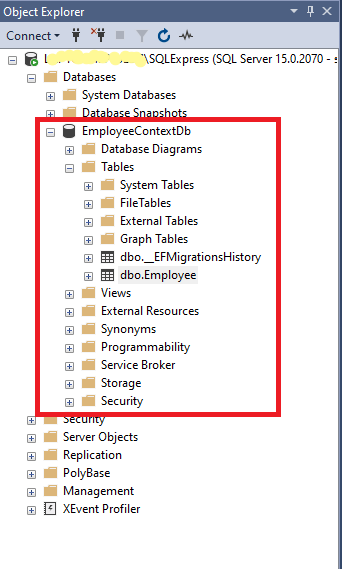
Once the above command is executed, the database and tables (EmployeeContextDb) will be created in an SQL server. (see below).
Open Microsoft SQL Server Management Studio -> Object Explorer -> Databases.
For any changes to the data model, you should use the Add-Migration MigrationName and Update-Database commands to push changes to the database.
Step 7: Test the API methods in Postman
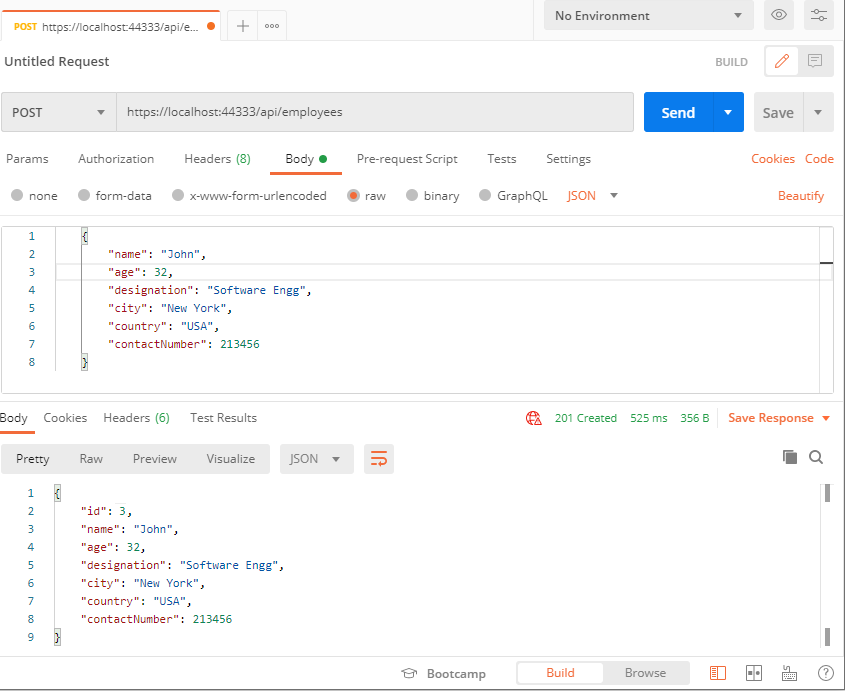
Add Employee (POST):
Use POST method to add employee records to the database, enter this URL https://localhost:44333/api/employees and select the method as POST and in the Body section, add a request JSON (as shown below) and click Send button.
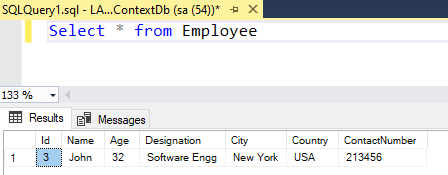
You can see the newly added employee record in SQL database (as shown below),
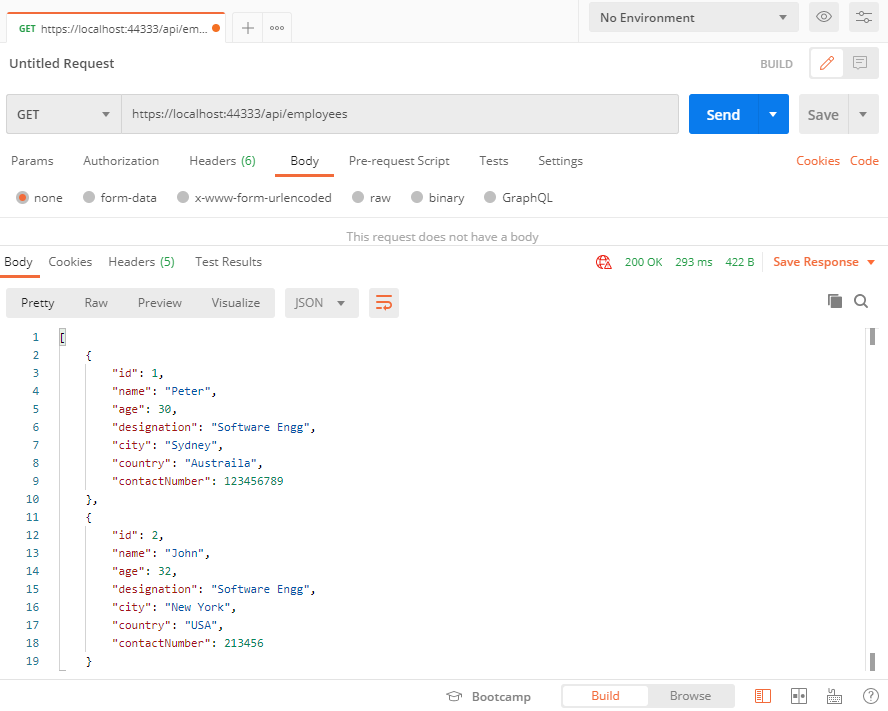
Get Employees (GET):
Use the GET method to retrieve all employees from the database, enter this URL https://localhost:44333/api/employees and select the method as GET and click Send button.
Update Employee (PUT):
Use PUT method to update employee records to the database, enter this URL https://localhost:44333/api/employees/{id} (id -> should be employee id) and select the method as PUT and in the Body section, add a request JSON (as shown below) and click Send button.
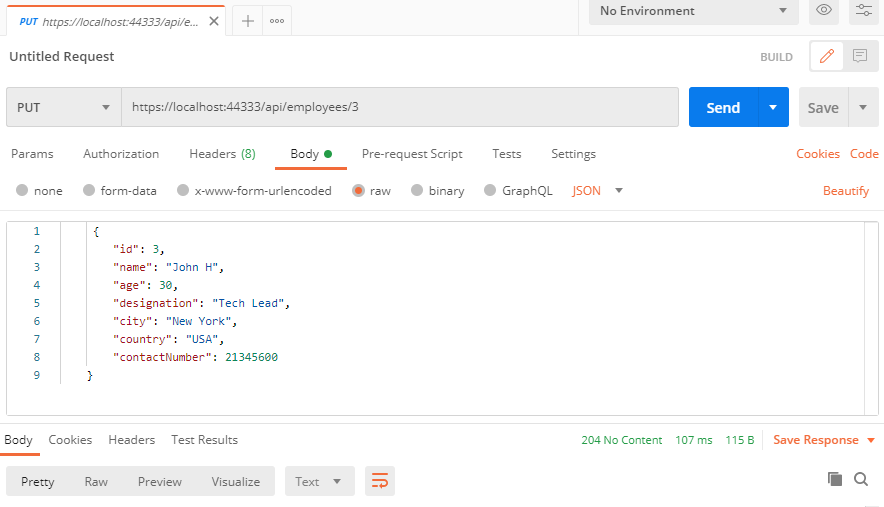
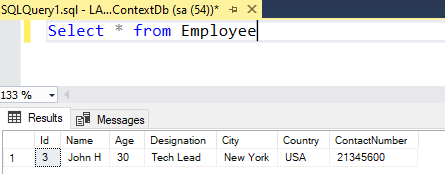
You can see the updated employee details in SQL database (as shown below),
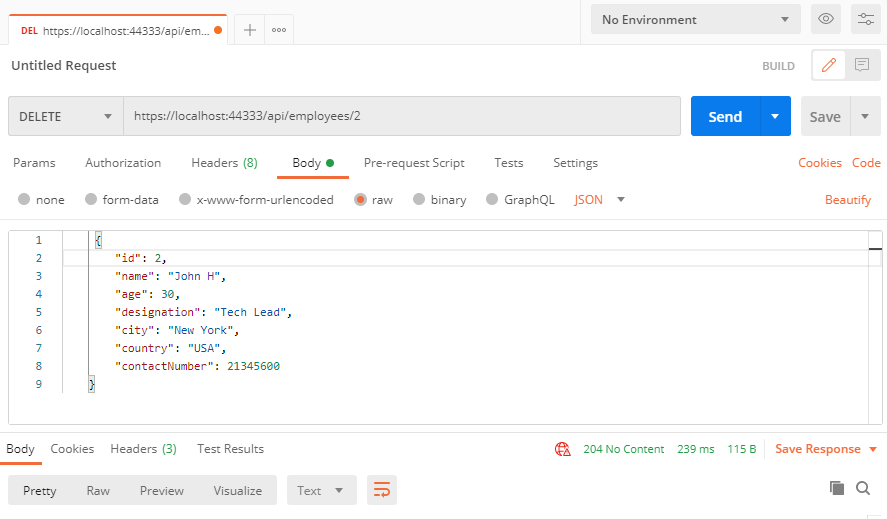
Remove Employee (DELETE):
Use DELETE method to delete an employee record from the database, enter this URL https://localhost:44333/api/employees/{id} (id -> should be employee id) and select the method as PUT and in the Body section, add a request JSON (as shown below) and click Send button.
Similar article:
CRUD operations with ASP.NET Core and Angular application, Build a Simple CRUD App With Angular and Asp.Net Core
Comments (0)