
MySQL Installation
We can download the different MySQL components as separate individual downloads or download the community server application. The Community server downloads is a wizard-application installation that auto-installs most of the SQL components required for MySQL development. The components installed are:

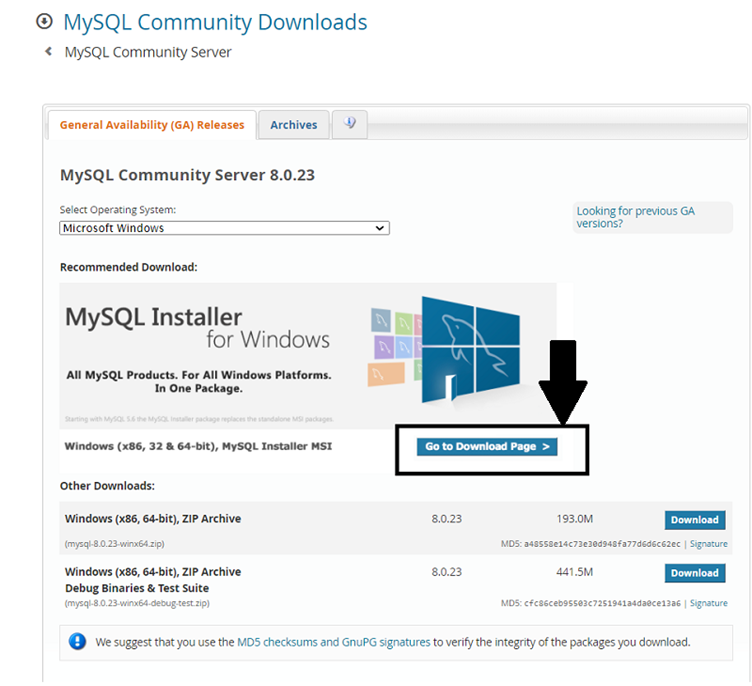
- To download the MYSQL Community Server, visit MySQL official website. On the page that opens, click on the button highlighted below.
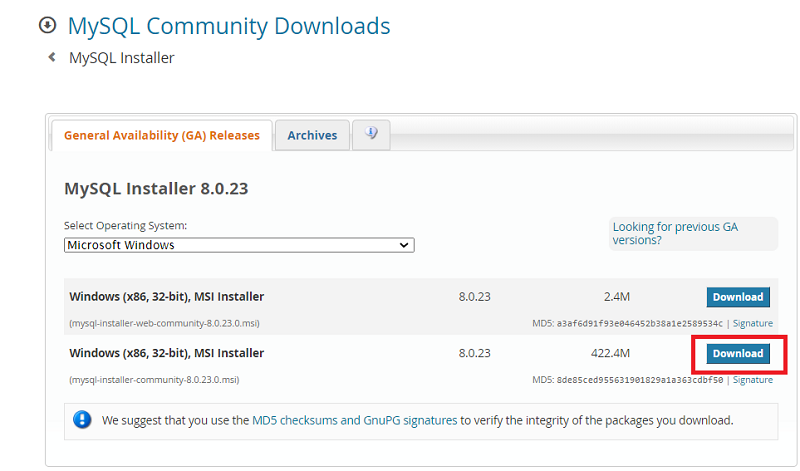
- On the screen that opens, click on the second button.
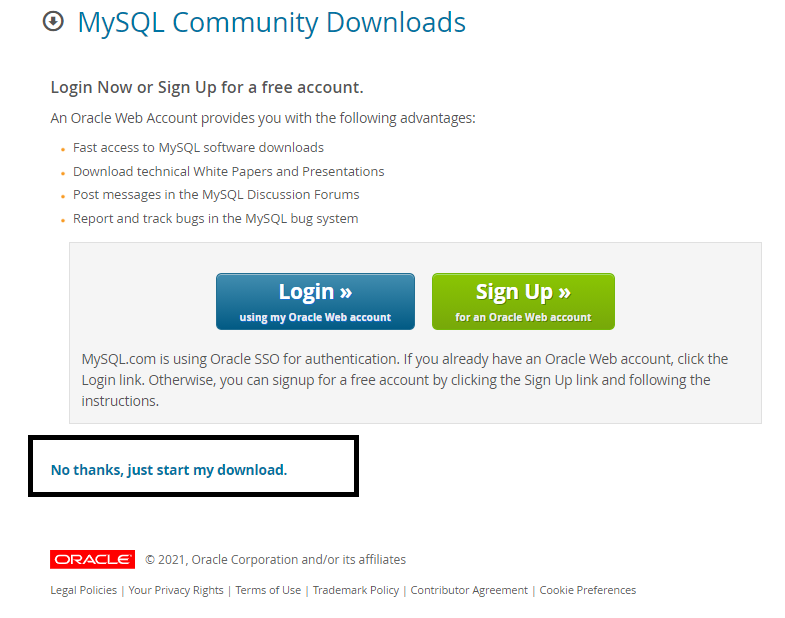
- Click the download navigates to another screen. On this screen, we can skip the account creation and download the file. Alternatively, we can also create an account before downloading the installer file. Creating an account is free of cost. Clicking on the link highlighted below will start the download of the installer file.
- The file that gets downloaded is mysql-installer-community-8.0.23.0. Please note depending on the version you are downloading, the number in the file name will change.
-
For example, if you download the community version 8.0.24, then the file name would be mysql-installer-community-8.0.24.0.
- Clicking on the downloaded MSI file opens up the wizard
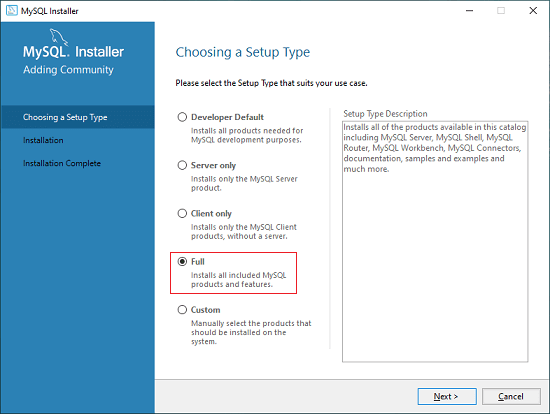
- Select the “Setup Type” as Full.
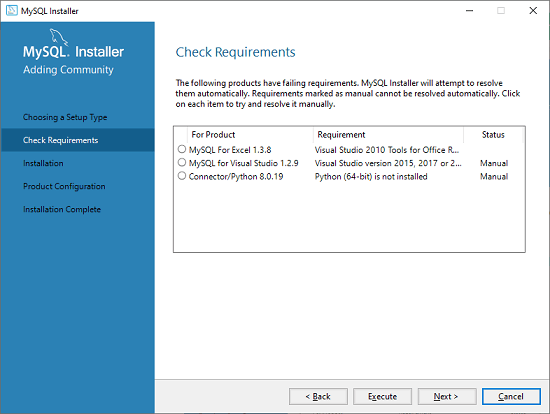
- For the Requirements that show “Manual,” we need to verify the required versions, etc., are available on our system. We can, of course, skip this step and continue to the Next.
- If we do not satisfy the requirements, we see the following box. Just click on Yes.
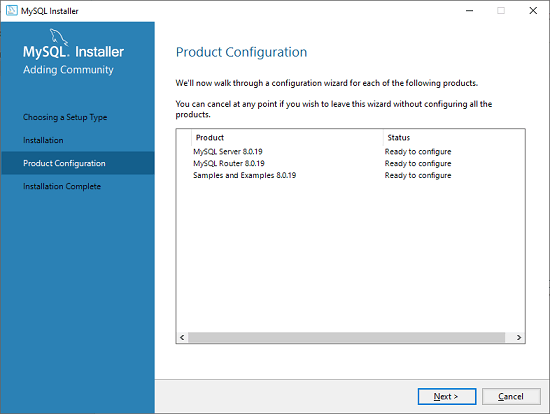
- After clicking on the Yes button, we will see the list of the products which will install. Just hit Execute

- The MYSQL wizard then installs all the products one by one. This step takes some time to complete. Once all the installations complete, the wizard should look something like this

- Clicking on Next, takes us to the “Configure” tab. We will skip the Configurations for now and keep them as-is.
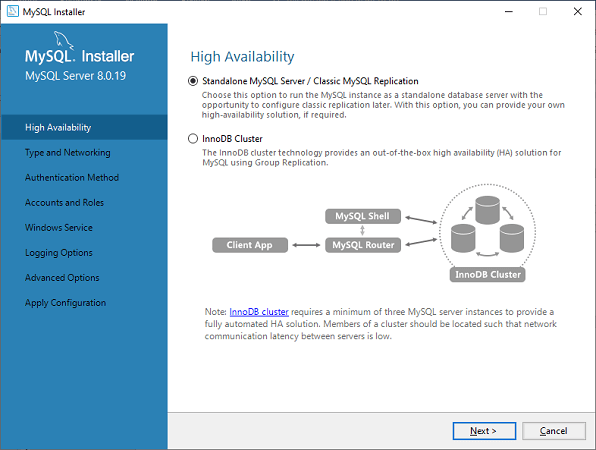
- Clicking Next shows us the options for configuring MySQL server as either a standalone or an InnoDB cluster. We will keep it as standalone right now. The information about InnoDB clusters is available here.
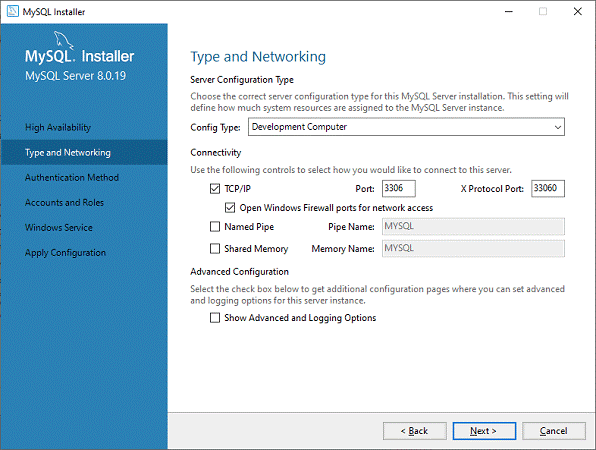
- Next are the connectivity options. Here as well, we will keep the defaults.
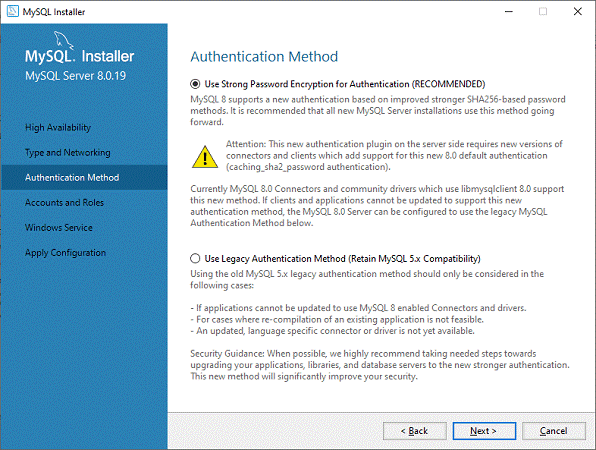
- In the Authentication method, choose the first option and hit Next.
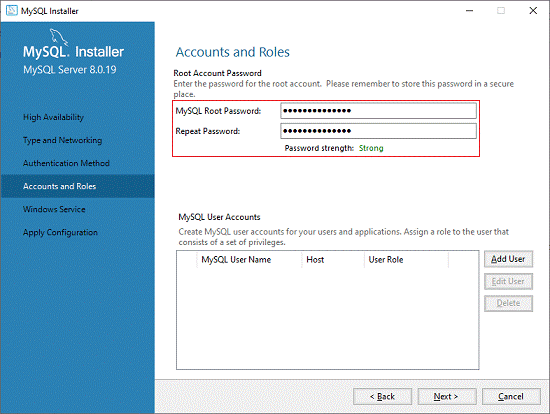
- Put in a root password. Please store it in a secure place since there are no easy ways to retrieve this password if forgotten.
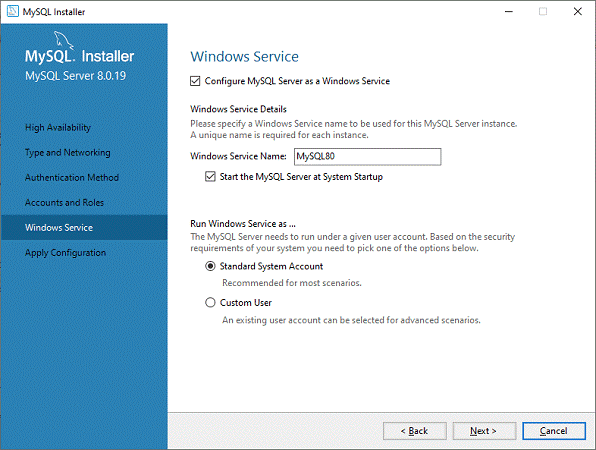
- On the next screen, keep the default and proceed.
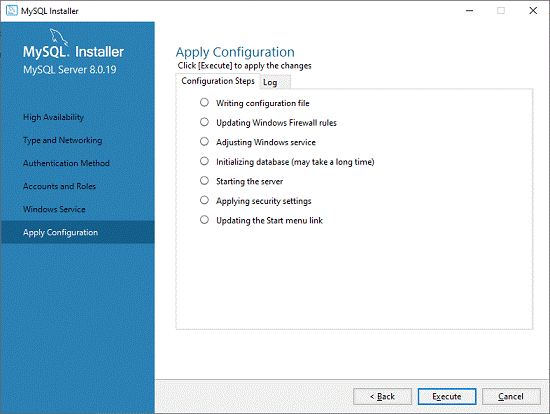
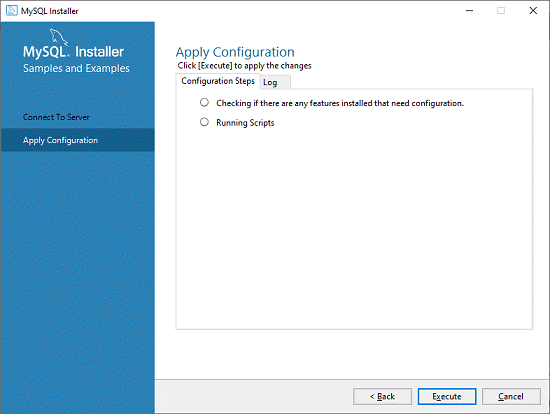
- Clicking Execute on this screen will apply the configuration we just set up.
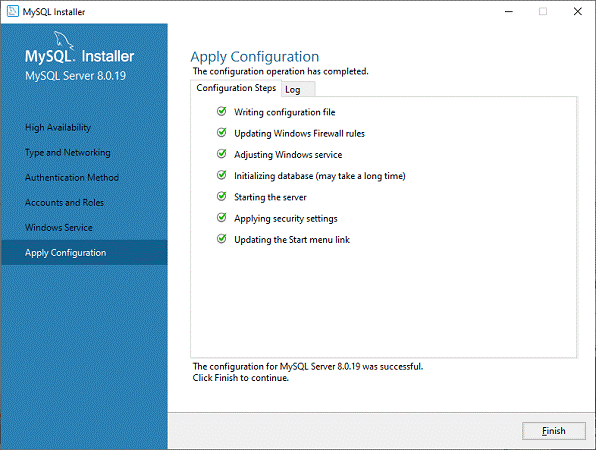
- With this step, all the files required are set up on our system. The Next steps are all related to configuration and settings.
- The next screen is just information about steps done till now and steps to be done.

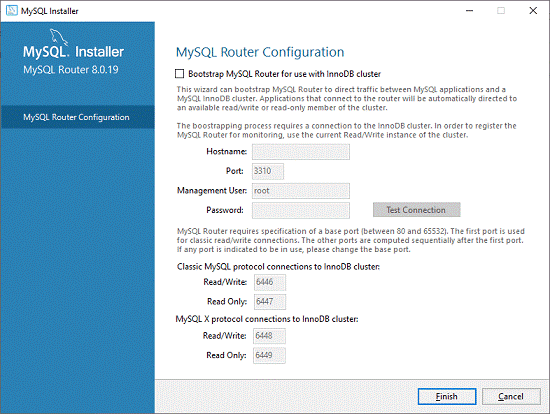
- We will not configure the Router now, so just hit Next.
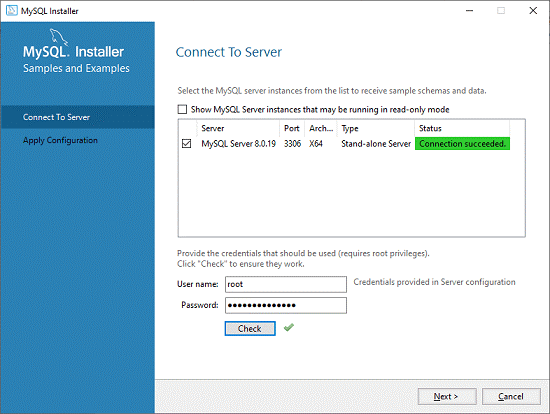
- Next, we configure the server connection and set up our root password. We also need to “Check” our link by clicking the Check button.
- Hitting next and then execute will apply the configurations related to Router and Server.
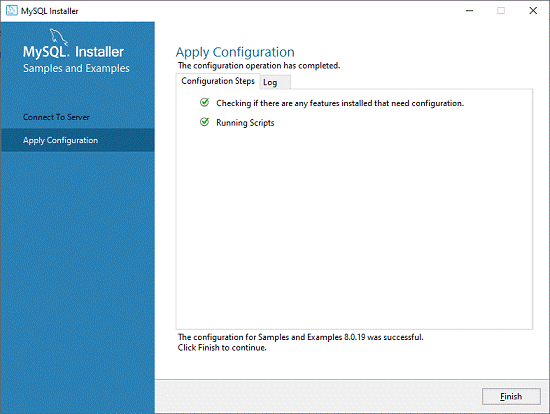
- Once the configuration is applied, all we have to do is hit the Finish button.
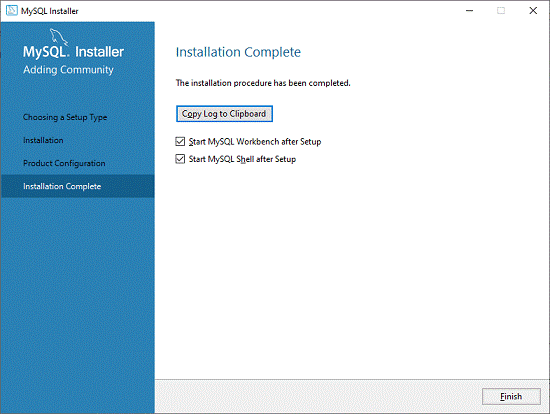
- Now, the MySQL installation is complete. Click on the Finish button.
Verifying the installation
One method to verify the installation is :
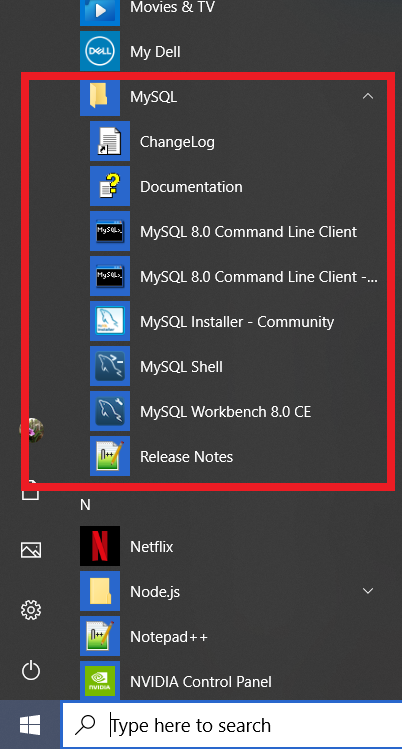
- Click on the Windows Icon.
- In the programs listed, scroll down till you see MySQL folder.
- This is an indication that setup is done.
To check sample databases
- Click on the MySQL Command Line Client (first option).
- It prompts for your root password
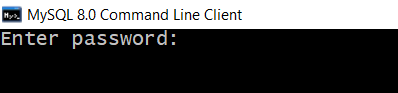
- Enter the password and hit enter
- In the prompt that appears, type the command: show databases;
- It should show you the sample databases that come with the installation

This verifies your MySQL Installation.
Don't have an account? Sign up!