
UiPath Data Scraping Wizard (RPA)
Data Scraping activity is used to scrape information from specific elements inside an application or web browser. The user can select one element and the Data Scraping activity will be able to scrape information for all such elements present in the window. Hence, it is useful to get data such as Title, Links, Numbers, etc.
This is one of the most useful features of UiPath and enables any user to scrape data from a file, webpage, application, etc. with the help of few clicks.

Upon pressing Data Scraping, the following Wizard appears. On the first screen asks the user to select the first element of the list, table, or sequence of data they want to scrape. For this tutorial, we will scrape the search results of a simple google search.
Step 1:
- Clicking on Next will bring out a cursor with which a user can select the element they are looking for.
Step 2:
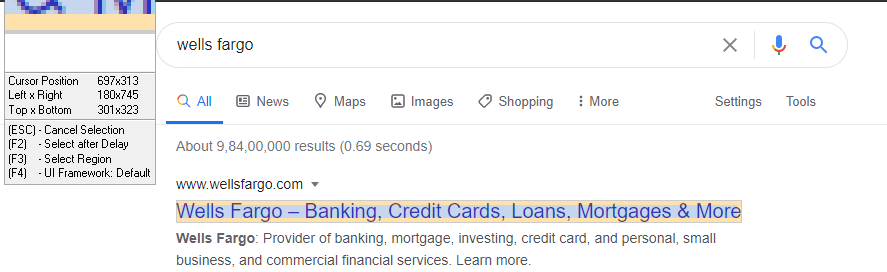
- As shown in the image, the first search result has been selected which can be understood by the blue highlight and red borders around the “Wells Fargo – Banking, Credit Cards, Loans, Mortgages & More” title.

Step 3:
- Once this is done, the wizard will ask to select the next element.
- This element could the second one in the list or the last one. It is advisable to use the last one as it generates more accurate results and minimizes leaving out any information.
Step 4:
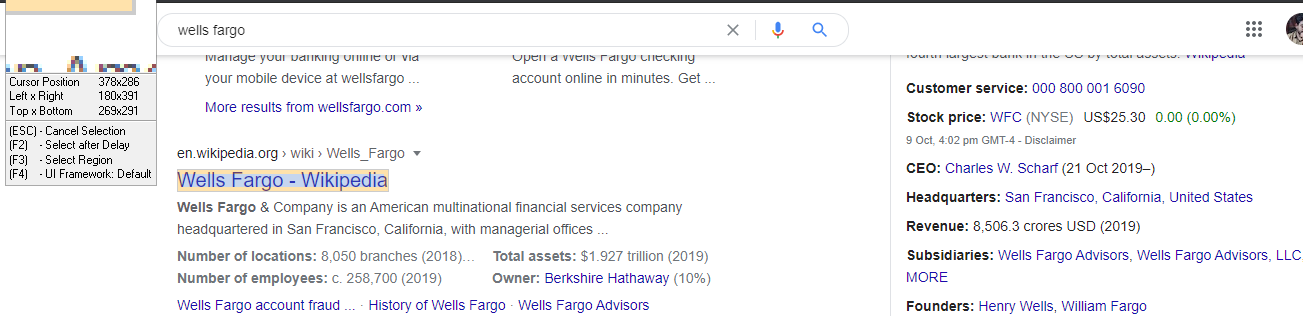
· The second result is selected as shown in the image.
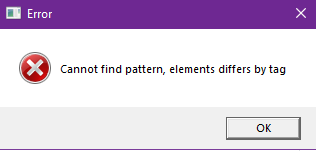
· It is to be noted that for the list of information to be captured successfully, the user needs to select the same element for each item on the list, otherwise the Data Scraping Wizard will show an error as follows.
Step 5:
Once, the second element is successfully selected the following screen appears on the wizard. The user can select the Column Name, the type of data to be extracted.


Step 6:
- Clicking on Next brings the final window which shows the text and link, that was extracted from the google search page.
- In this example, the Data Scraper was able to get 4 results along with their link. The Edit Data Definition gives advanced user an option to Edit the selectors as per their requirements to further refine the output results.
- If the user is willing to extract more information or add more columns of data, he can use the “Extra Correlated Data” option.
- The default limit of data to be extracted per page is set at 100 by default. This can be altered as well. Finally, to complete the process click on “Finish”.
Step 7:
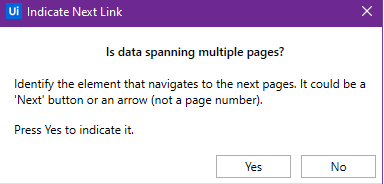
- This the last dialog box that appears and asks the user to select the Pagination button to extract the same information for multiple pages.

- In our example, to extract data from multiple google search results, we will select “Yes” and point to the “Next” button.
- It is important to understand that, for pagination to work correctly, the user must point the universal “Next” element or similar buttons on a web page.
- Using the “2”, “4” or something similar is not viable as each of them has different elements and continuously changes and hence the selector is not static for UiPath to use it multiple times.

Step 8:
- Once everything is set, UiPath automatically creates a Data Scraping sequence containing all required activities, selectors without the need of any further user intervention.
- By default, the Data Scraping Wizard creates a Data Table variable named “ExtractDataTable”, on to which it stores all the information.