
Introduction:
In today's digital world, collecting user data and storing it in a database is a common requirement for many web applications. HTML provides an excellent way to create user-friendly forms, while PHP offers powerful server-side processing capabilities. By combining these technologies, you can easily insert form data into a database. In this tutorial, we will walk you through the step-by-step process of creating a form, handling form submissions using PHP, and inserting the submitted data into a MySQL database.
Prerequisites:
To follow along with this article, you should have a basic understanding of HTML, PHP, and MySQL. Make sure you have a web server with PHP and MySQL installed, such as Apache or XAMPP, to run the code examples.
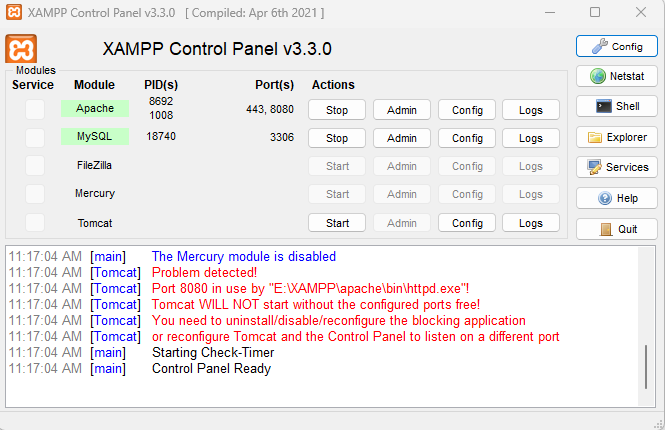
Step 1: Start by installing a virtual server on your computer, such as Xampp or Wamp.
We will use Xampp which is a freely available and open-source package that provides a comprehensive web server solution stack. It was developed by Apache Friends and includes the Apache HTTP Server, MySQL database, and interpreters for scripting languages like PHP and Perl. The name XAMPP itself stands for Cross-Platform (X), Apache (A), MySQL (M), PHP (P), and Perl (P). The Apache and MySql instances should be up and running on your machine.
Step 2: Creating the HTML Form
First, let's create an HTML form that collects the necessary data from the user. Open your favorite text editor and create a new file with the "index.html". Add the following code:
<!DOCTYPE html>
<html>
<head>
    <title>Insert Form Data into Database</title>
</head>
<body>
    <h1>Insert Form Data into Database</h1>
    <form method="post" action="insert.php">
        <label for="name">Name:</label>
        <input type="text" name="name" id="name" required><br><br>

        <label for="email">Email:</label>
        <input type="email" name="email" id="email" required><br><br>

        <label for="message">Message:</label>
        <textarea name="message" id="message" required></textarea><br><br>

        <input type="submit" value="Submit">
    </form>
</body>
</html>
In this code snippet, we have created a simple form with three fields: name, email, and message. The form's method is set to "post," and the action attribute specifies the URL where the form data will be submitted.
Step 3: Handling Form Submission with PHP
Now, let's create the PHP script that will process the form submission and insert the data into the database. Create a new file named "insert.php" and add the following code:
<?php
$servername = "localhost";
$username = "root";
$password = "";
$dbname = "company";

// Create a connection
$conn = new mysqli($servername, $username, $password, $dbname);

// Check connection
if ($conn->connect_error) {
    die("Connection failed: " . $conn->connect_error);
}

// Retrieve form data
$name = $_POST['name'];
$email = $_POST['email'];
$message = $_POST['message'];

// SQL query to insert data into the database
$sql = "INSERT INTO contacts (name, email, message) VALUES ('$name', '$email', '$message')";

if ($conn->query($sql) === TRUE) {
    echo "Data inserted successfully!";
} else {
    echo "Error: " . $sql . "<br>" . $conn->error;
}

// Close the connection
$conn->close();
?>
In this PHP code, we establish a connection to the MySQL database using the provided server name, username, password, and database name. We then retrieve the form data using the $_POST superglobal and store it in variables. Next, we construct an SQL query to insert the form data into the "contacts" table. If the query execution is successful, we display a success message; otherwise, we output an error message along with the specific error details.
You need to save the "index.html" and "insert.php" files in the designated location within the "Xampp" folder. Specifically, navigate to "htdocs" and create a new folder named "Php-Insert." This newly created folder should contain all the project-related data, including images used in the webpage, HTML code, CSS code, and any other elements required for creating the web page. It's essential to keep all these resources organized and consolidated within a single folder, ensuring they are easily accessible and manageable.
Step 4: Creating the Database
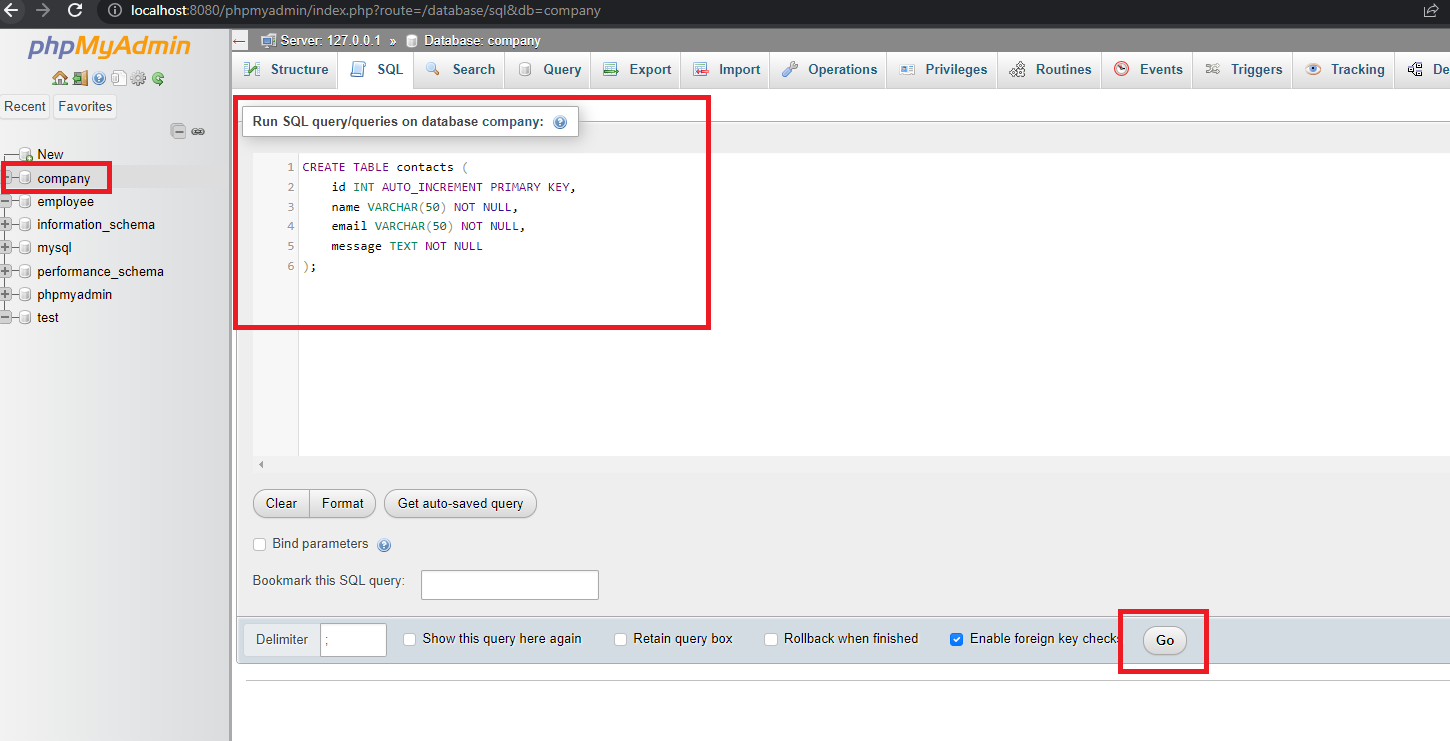
Table Before running the code, we need to create a database table to store the form data. Open a MySQL management tool like phpMyAdmin interface to execute the following SQL statement:
CREATE TABLE contacts (
    id INT AUTO_INCREMENT PRIMARY KEY,
    name VARCHAR(50) NOT NULL,
    email VARCHAR(50) NOT NULL,
    message TEXT NOT NULL
);
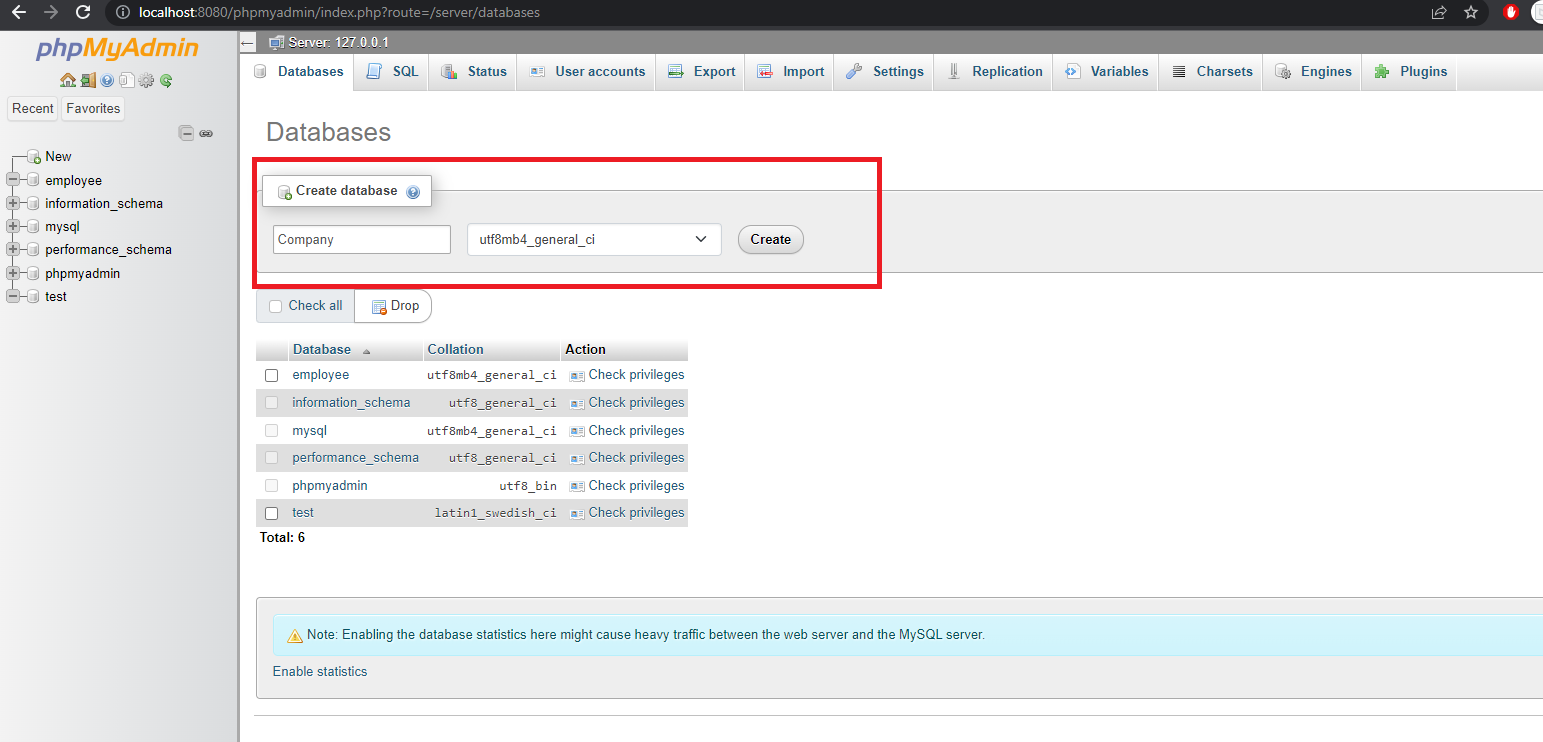
First, we create the database called "company"
Once created the database, run the create table query on database "company" as shown below,
You will get the success message as shown below once the table is created.

This SQL statement creates a table named "contacts" with columns for the ID, name, email, and message. The ID column is set as the primary key, and all other columns are defined with appropriate data types and constraints.
Step 5: Running the Program and Viewing the Output
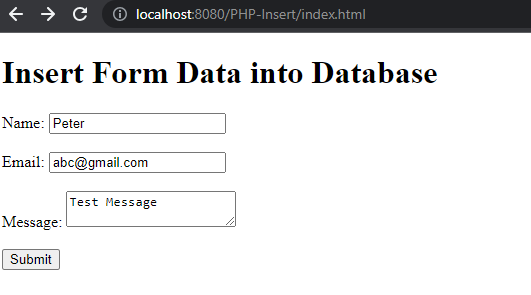
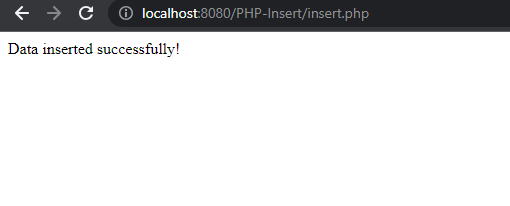
To run the program, save all the files in your web server's document root directory (as mentioned in Step 3). Start the web server and open a web browser. Navigate to the URL (http://localhost:8080/PHP-Insert/index.html) where you saved the HTML form file. Fill in the form fields with some sample data and click the "Submit" button.
If everything is set up correctly, you should see the "Data inserted successfully!" message displayed on the web page. To verify the data insertion, you can use your MySQL management tool to view the records in the "contacts" table.
The HTML form collects user input and sends it to the PHP script defined in the form's action attribute. The PHP script establishes a connection to the database, retrieves the form data using the $_POST superglobal, constructs an SQL query, and executes it. If the query is successful, a success message is displayed; otherwise, an error message is shown.
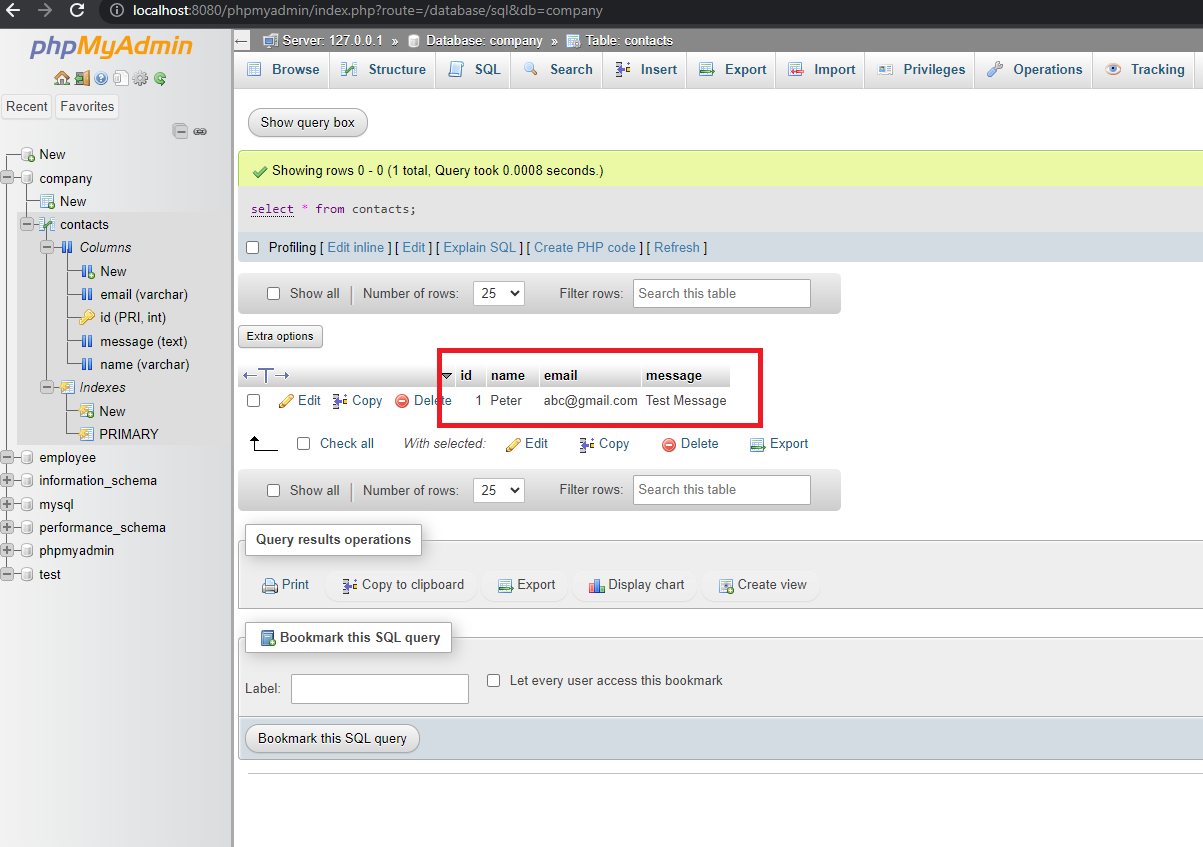
To verify whether the record is inserted into the MySQL table, open the phpMyAdmin and run the query select * from contacts on the database "company"
Conclusion:
By combining HTML, PHP, and MySQL, you can easily insert form data into a database. This article has provided a step-by-step guide, explaining the process of creating an HTML form, handling form submission with PHP, and inserting the data into a MySQL database. With this knowledge, you can now enhance your web applications by securely storing user data in databases. Experiment with different form fields and database structures to create more sophisticated data collection systems.
Comments (0)