
Introduction
In this article, we will learn how to create and build an ASP.NET core 3.2 angular CRUD (CRUD Operation) application using the Visual Studio 2019 template. We will have an angular app at the front end and a RESTful API at the back end. Also, we will see how to integrate the API CRUD operations (Create, Retrieve, Update, and Delete) in the front-end.
Prerequisites:
- .Net Core 3.1 SDK
- Visual Studio 2019
- Visual Studio Code (Easy to edit Angular client code)
- Angular CLI (Usually angular CLI is not required when you create an Angular template using Visual Studio)
Once you have installed the above prerequisites, you can use a Visual Studio to create an ASP.NET Core Angular application template. To write server-side code, you can use Visual Studio and Visual Studio Code for client-side, however, if you are comfortable, then you can use Visual Studio instead of VS code.
Step 1: Create an ASP.NET Core 3.1 Angular Application Template
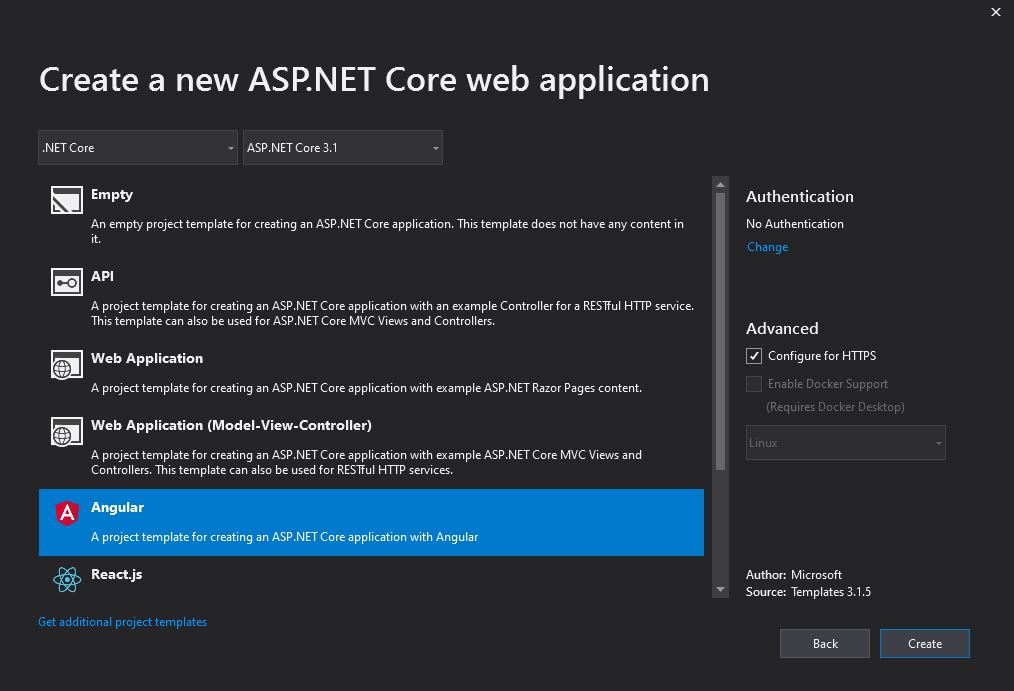
Open Visual Studio 2019 and click "Create a new project" and choose ASP.NET Core Web Application > Provide project name and location > Then choose .ASP.NET Core 3.2 version and the API template select "Angular" as shown below and click "Create",
Once the application is created, you will see the below application structure in Solution Explorer, and you will see Angular client-side application files in the ClientApp folder as shown below,

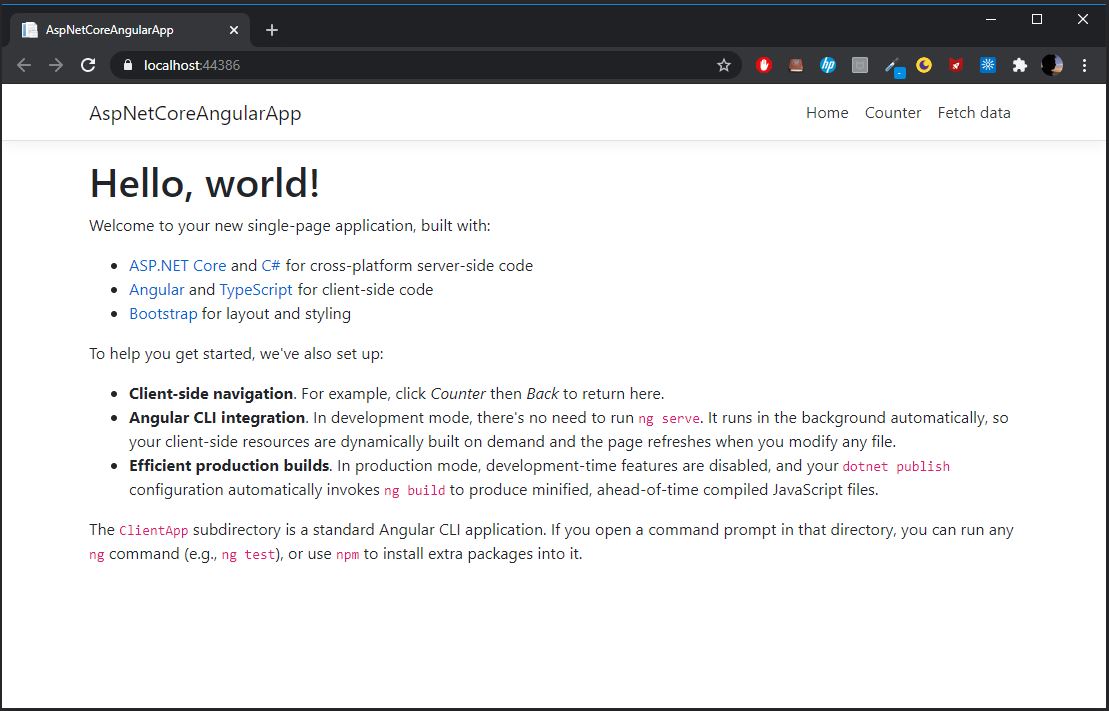
All the packages will be automatically installed once you build the solution. You will see the below default page when you run the application using F5, you do not need to run the ng serve in development mode, so your client-side resources are dynamically built on demand and the page refreshes when you modify any files. But In production mode, development-time features are disabled, and your dotnet publish configuration automatically invokes ng build to produce minified, ahead-of-time compiled JavaScript files.
Step 2: Add Models
Create a new folder name as "Models" and add a class file name as "Employee" as shown below,
using System.ComponentModel.DataAnnotations;
namespace AspNetCoreAngularApp.Models
{
    public class Employee
    {
		[Key]
		public int Id { get; set; }

		[Required]
		public string Name { get; set; }

		[Required]
		public int Age { get; set; }

		[Required]
		public string Designation { get; set; }

		[Required]
		public int MobileNumber { get; set; }
	}
}
Step 3: Add Entity Framework Database Context
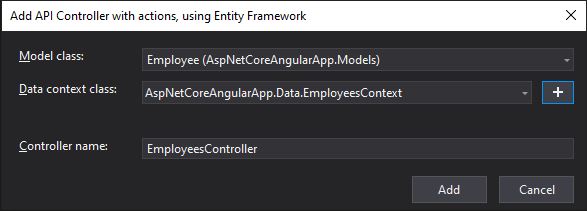
Right-click the Controllers folder and select Add -> Controller -> API controller with actions, using Entity Framework.
Enter the model class name as Employee ,Click the + button and add the EmployeesContext.
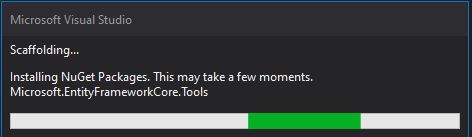
Once you click Add button, Visual Studio will automatically add the necessary NuGet packages and create a new database context. (you will see the installation progress as shown below)
You will see the EmployeesContext file in the Data folder and EmployeesController with API actions under the Controller folder,
EmployeesContext.cs
using Microsoft.EntityFrameworkCore;
namespace AspNetCoreAngularApp.Data
{
    public class EmployeesContext : DbContext
    {
        public EmployeesContext (DbContextOptions<EmployeesContext> options)
            : base(options)
        {
        }

        public DbSet<AspNetCoreAngularApp.Models.Employee> Employee { get; set; }
    }
}
EmployeesController.cs
namespace AspNetCoreAngularApp.Controllers
{
    [Route("api/[controller]")]
    [ApiController]
    public class EmployeesController : ControllerBase
    {
        private readonly EmployeesContext _context;

        public EmployeesController(EmployeesContext context)
        {
            _context = context;
        }

        // GET: api/Employees
        [HttpGet]
        public async Task<ActionResult<IEnumerable<Employee>>> GetEmployee()
        {
            return await _context.Employee.ToListAsync();
        }

        // GET: api/Employees/5
        [HttpGet("{id}")]
        public async Task<ActionResult<Employee>> GetEmployee(int id)
        {
            var employee = await _context.Employee.FindAsync(id);

            if (employee == null)
            {
                return NotFound();
            }

            return employee;
        }

        // PUT: api/Employees/5
        // To protect from overposting attacks, enable the specific properties you want to bind to, for
        // more details, see https://go.microsoft.com/fwlink/?linkid=2123754.
        [HttpPut("{id}")]
        public async Task<IActionResult> PutEmployee(int id, Employee employee)
        {
            if (id != employee.Id)
            {
                return BadRequest();
            }

            _context.Entry(employee).State = EntityState.Modified;

            try
            {
                await _context.SaveChangesAsync();
            }
            catch (DbUpdateConcurrencyException)
            {
                if (!EmployeeExists(id))
                {
                    return NotFound();
                }
                else
                {
                    throw;
                }
            }

            return NoContent();
        }

        // POST: api/Employees
        // To protect from overposting attacks, enable the specific properties you want to bind to, for
        // more details, see https://go.microsoft.com/fwlink/?linkid=2123754.
        [HttpPost]
        public async Task<ActionResult<Employee>> PostEmployee(Employee employee)
        {
            _context.Employee.Add(employee);
            await _context.SaveChangesAsync();

            return CreatedAtAction("GetEmployee", new { id = employee.Id }, employee);
        }

        // DELETE: api/Employees/5
        [HttpDelete("{id}")]
        public async Task<ActionResult<Employee>> DeleteEmployee(int id)
        {
            var employee = await _context.Employee.FindAsync(id);
            if (employee == null)
            {
                return NotFound();
            }

            _context.Employee.Remove(employee);
            await _context.SaveChangesAsync();

            return employee;
        }

        private bool EmployeeExists(int id)
        {
            return _context.Employee.Any(e => e.Id == id);
        }
    }
}
Above the controller, you will see the API methods like GET, POST, PUT and DELETE. This code will work without any modification. All the methods will return the data in JSON format.
In RESTful API, we will use the GetEmployee method to get the data from the database, PostEmployee to insert the data, PutEmployee to update the data, and DeleteEmployee to delete the data from the database.
Step 4: Setup Migration
Before migration you have to verify the database connection, this will be found in appsettings.json file as shown below,
"ConnectionStrings": {
"EmployeesContext": "Server=(localdb)\\mssqllocaldb;Database=EmployeesContext-79145ad7-6d46-4195-b012-1f5e06acb6c2;Trusted_Connection=True;MultipleActiveResultSets=true"
}
The above connection string was created when we created the Entity Framework Database Context. You can also use your own SQL database instead of LocalDb. But here in this example, we will use LocalDb only.
To enable migrations, Click Tools -> NuGet Package Manager -> Package Manager Console,
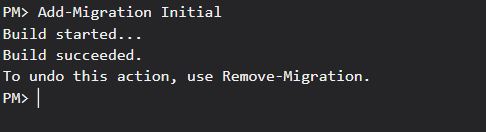
Run this command, Add-Migration Initial.
You will see the below message once you run the command successfully and also you will see the filer 20200720095012_Initial.cs and EmployeesContextModelSnapshot.cs under the Migrations folder.
Step 5: Create a Database
You have to execute the below command in the Package Manager Console to create a database,
Update-Database
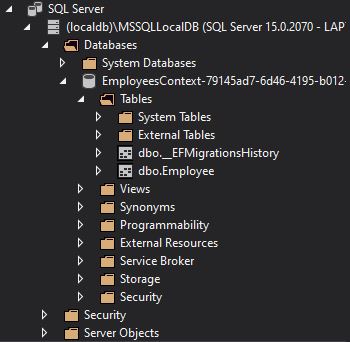
To Open SQL Server Object Explorer, Click View -> SQL Server Object Explorer, You can now see the EmployeesContext-79145ad7-6d46-4195-b012-1f5e06acb6c2 database and Employee table as shown below,
For any changes to the data model, you should use the Add-Migration MigrationName and Update-Database commands to push changes to the database.
That's it. All done on the server side.
Step 6: Test the API methods in Postman
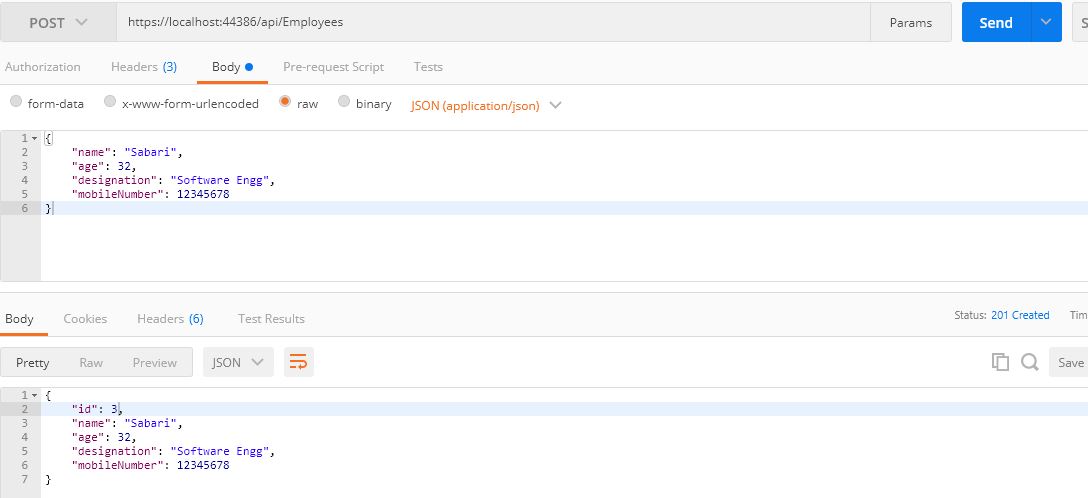
Run the application using F5, once the application starts to use the Postman to insert the data using the URL https://localhost:xxxx/api/Employees
JSON Request:
{
    "name": "Sabari",
    "age": 32,
    "designation": "Software Engg",
    "mobileNumber": 12345678
}
Postman Screenshot:
Insert Employee (POST)
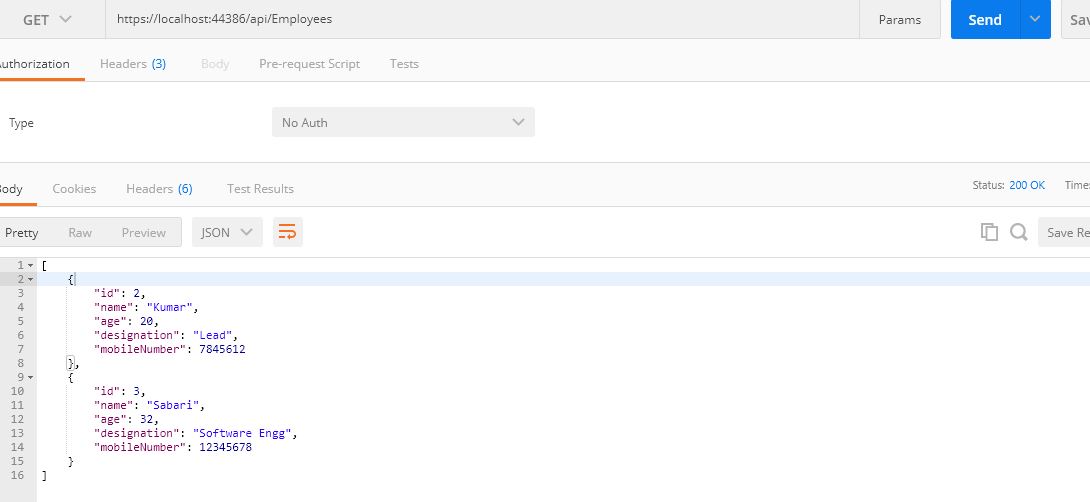
Get Employees (GET):
Use below URL to get the employees,
https://localhost:44386/api/Employees/
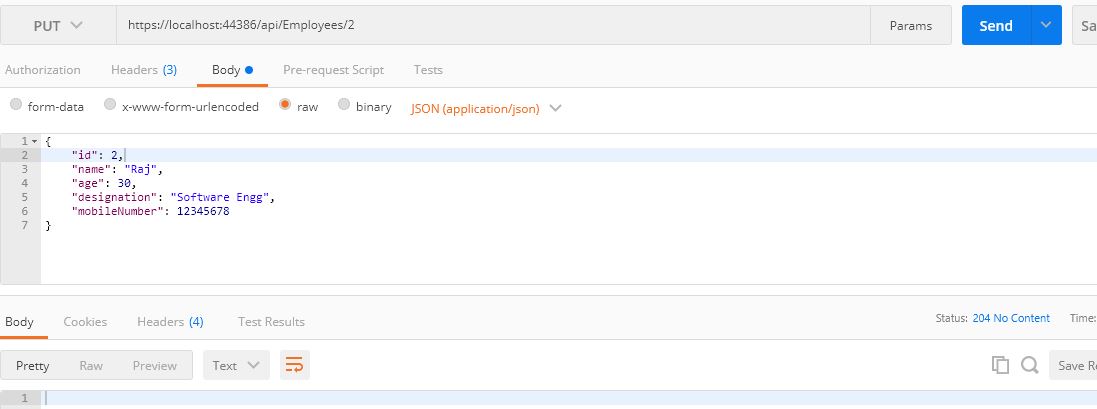
Update Employee (PUT):
Use the below URL and pass the id in the URL as shown below,
https://localhost:44386/api/Employees/2
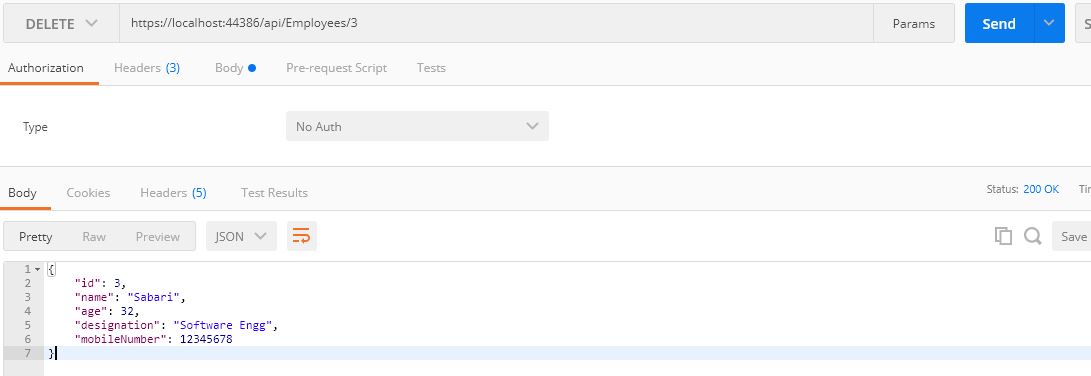
Delete Employee (DELETE):
Use the below URL and pass ID to delete the employee,
https://localhost:44386/api/Employees/3
In our next article Create and Build an ASP.NET Core Angular CRUD Application - Part 2, we will see how to integrate the API CRUD methods into the angular application.
Comments (0)