

Introduction:
In web development, buttons play a crucial role in enhancing user experience and interaction. While there are various ways to create buttons, jQuery offers a simple and efficient approach to achieve this. In this blog, we will explore multiple methods to create buttons using jQuery, discussing their implementation, benefits, and potential use cases. By the end, you will have a solid understanding of how to create buttons that are both visually appealing and functional.
Method 1: Using HTML and jQuery (Normal Method)
The most basic approach to creating a button with jQuery is by utilizing HTML and jQuery together. We can define a button element in HTML and then use jQuery to add interactivity to it. Let's consider an example where we want to create a button that triggers an alert when clicked:
<!DOCTYPE html>
<html>
<head>
  <script src="https://code.jquery.com/jquery-3.6.0.min.js"></script>
  <script>
    $(document).ready(function(){
      $('#myButton').click(function(){
        alert('Button clicked!');
      });
    });
  </script>
</head>
<body>
  <button id="myButton">Click Me</button>
</body>
</html>
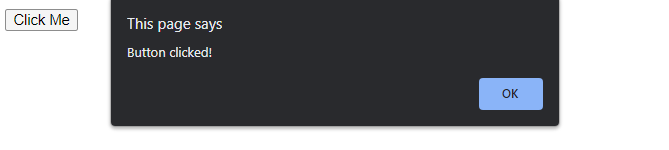
In this example, we include the jQuery library and create a script block that waits for the document to be ready. Within the script, we attach a click event listener to the button with the ID "myButton." When the button is clicked, an alert with the message "Button clicked!" will be displayed.
Output:
Method 2: Dynamically Creating Buttons
Another useful technique is dynamically creating buttons using jQuery. This approach allows us to generate buttons on the fly, which can be beneficial when dealing with dynamic content or data-driven applications. Let's illustrate this with an example where we create multiple buttons based on an array of options:
<!DOCTYPE html>
<html>
<head>
  <script src="https://code.jquery.com/jquery-3.6.0.min.js"></script>
  <script>
    $(document).ready(function(){
      var options = ['Option 1', 'Option 2', 'Option 3'];

      options.forEach(function(option){
        var button = $('<button>').text(option);
        button.appendTo('#buttonContainer');
      });
    });
  </script>
</head>
<body>
  <div id="buttonContainer"></div>
</body>
</html>
In this example, we define an array of options. Within the script, we iterate over each option and dynamically create a button element using jQuery's $('<button>') syntax. We set the button's text to the current option and then append it to the container div with the ID "buttonContainer." This results in the creation of three buttons with the respective option texts.
Output:

Conclusion:
In this blog, we explored several methods for creating buttons using jQuery. We started with the simplest approach, combining HTML and jQuery to add interactivity to a button. We then delved into dynamically generating buttons, which can be particularly useful for dynamic content. Finally, we touched upon the advanced features jQuery offers to further enhance button effects. By understanding and implementing these techniques, you can create visually appealing and highly functional buttons that elevate your web applications.
Comments (0)