
This article will teach us how to create a bucket, IAM user, and upload files to an S3 bucket using ASP.NET Core.
What is Amazon S3 Bucket?
Amazon S3 bucket is a public simple cloud object storage service offered by Amazon Web Services (AWS). Amazon S3 provides industry-leading scalability, data availability, security, and performance.
Prerequisites
- Visual Studio 2019 or the latest.
- Install the AWS SDK S3 Toolkit for Visual Studio 2022 or the latest.
- Active AWS Account.
- The user should have programmatic access keys.
How to Upload the Files to AWS S3 Bucket Using ASP.NET Core?
Step 1: How to create an Amazon S3 Bucket
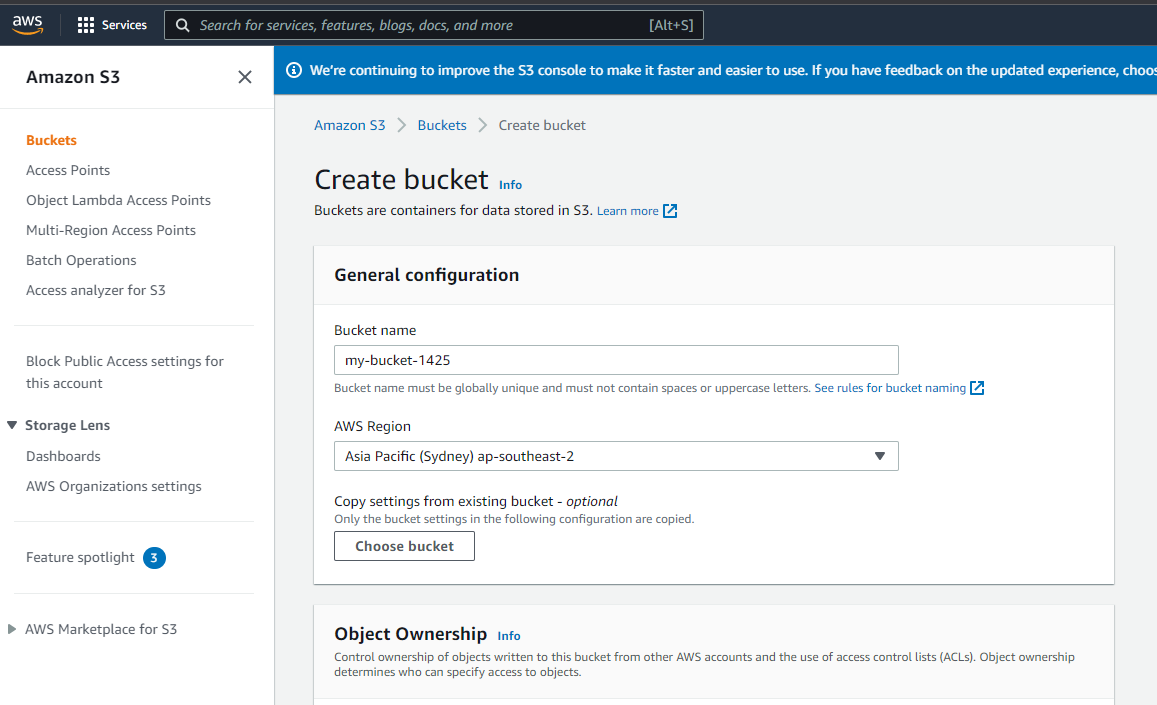
- Open Amazon Console, Sign in if you have an account, or create a new one.
- Search for "S3" and click & open "Amazon S3" and then Select "Create Bucket" > Enter "Bucket name" name and select "AWS region", as shown below,
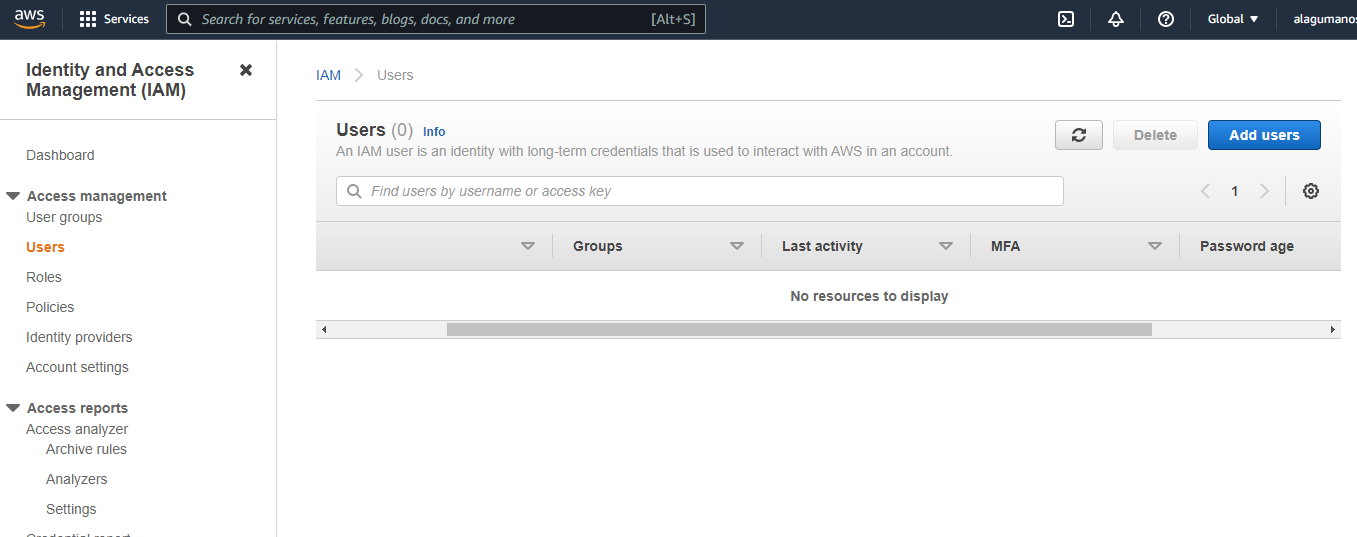
Step 2: Create an IAM User
Search for "IAM" and click & open "Users" and then Select "Add Users", as shown below,
Enter "User name" and "Select AWS credential type" as "Access key - Programmatic access" (This will enable an access key Id and secret access key for the AWS API, CLI, and the development tools.) and click "Next".

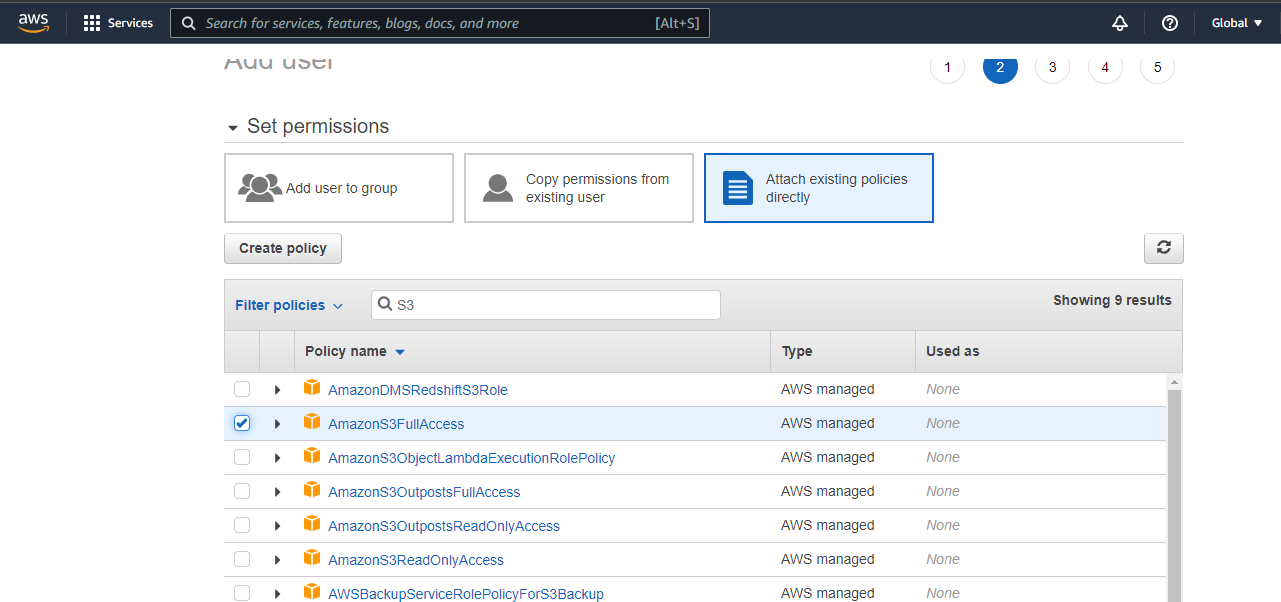
In the "Set Permissions" screen, Select "Attach existing policies directly" > Search for "S3" > Select "AmazonS3FullAccess" and Click "Next" and skip "Tags".
Review the user details that you have entered and click "Create User". You will see the Access key ID and Secret access key once the user is created (please note both the ID and access key). then you will be redirected to the "Users" screen once you close the current screen and can see the newly created user. as shown below,

We have now completed the S3 bucket and user creation in AWS.
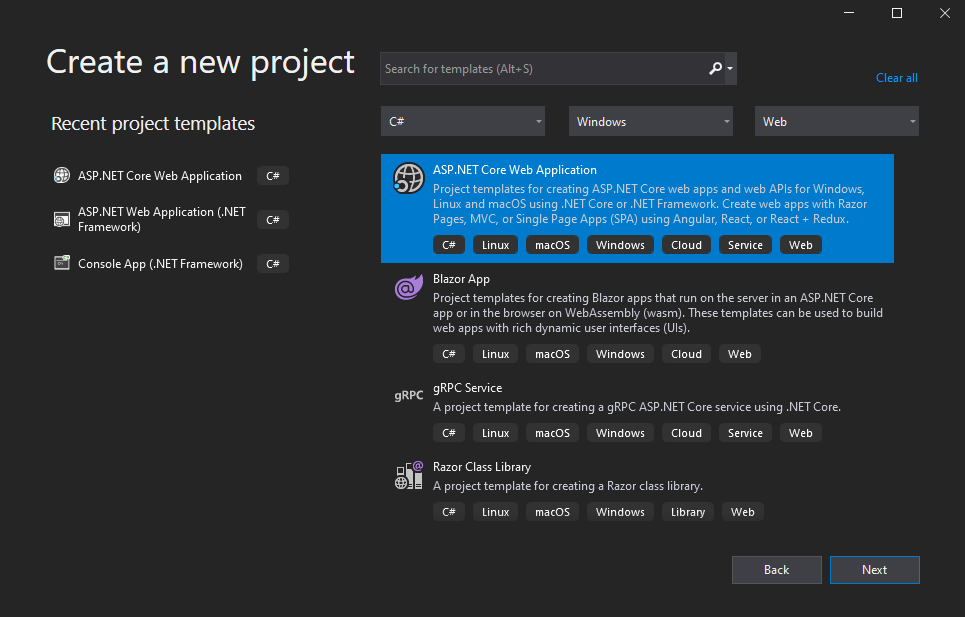
Step 3: Setup ASP.NET Core Project
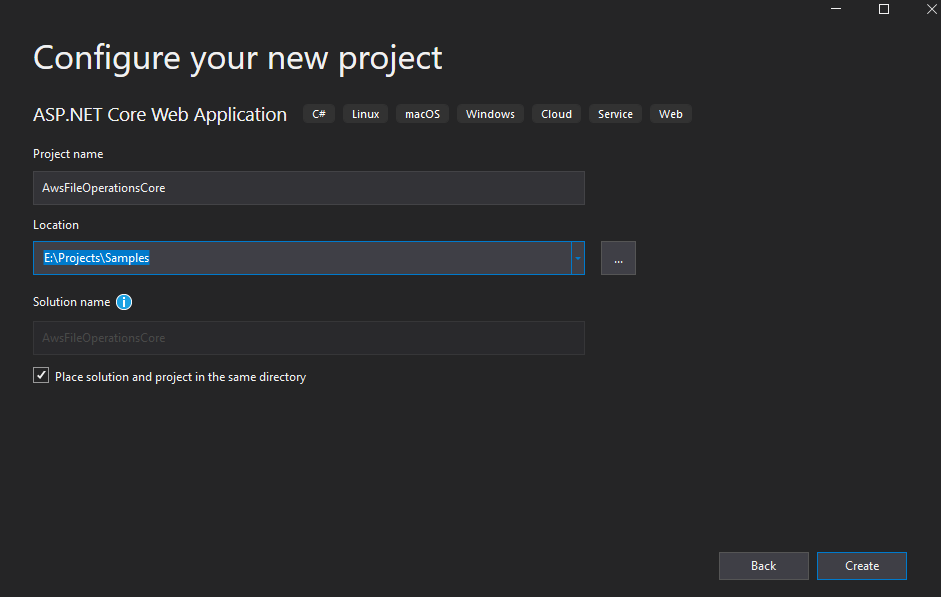
Open Visual Studio 2019 or the latest version > Choose "Create a new project" > Select "ASP.NET Core Web Application" and click "Next", as shown below,
Enter "Project name" and "location", then click "Create".
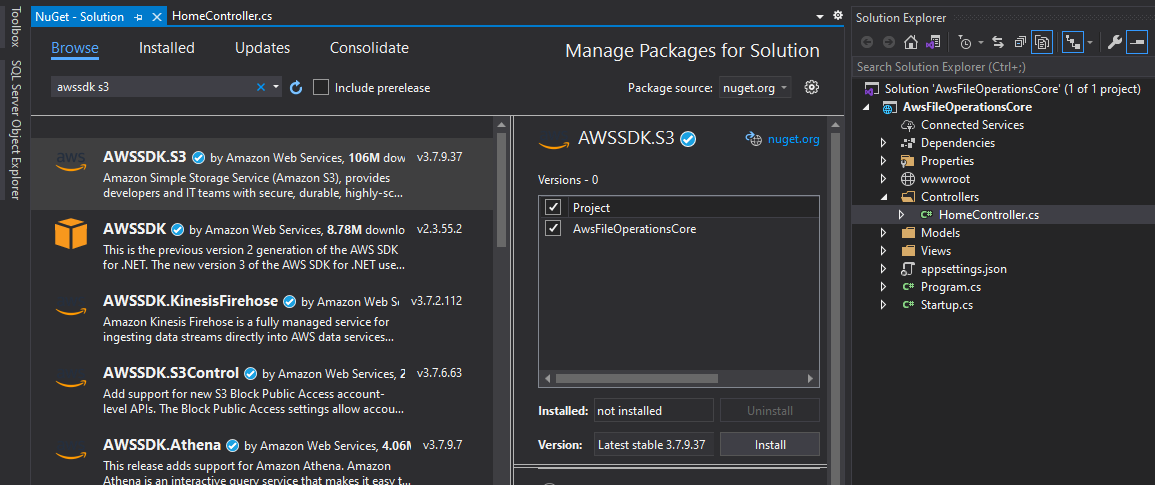
Step 4: Install the AWSSDK.S3 package
Open NuGet package manager and enter "awssdk s3" in the search box and select "AWSSDK.S3" and the project and click "Install" as shown below,
Step 5:
Go to the "HomeController.cs" and place the below code,
using Amazon;
using Amazon.S3;
using Amazon.S3.Transfer;
using Microsoft.AspNetCore.Http;
using Microsoft.AspNetCore.Mvc;
using System.IO;
using System.Threading.Tasks;

namespace AwsFileOperationsCore.Controllers
{
    public class HomeController : Controller
    {
        public IActionResult Index()
        {
            return View();
        }

        [HttpPost]
        public async Task<IActionResult> UploadFileToS3(IFormFile file)
        {
            // You can generate the 'access key id' and 'secret key id, when you create the IAM user in AWS.
            // Region endpoint should be same as the bucket region
            using (var amazonS3client = new AmazonS3Client("ACCESS_KEY_ID", "SECRET_KEY_ID", RegionEndpoint.APSoutheast2))
            {
                using (var memoryStream = new MemoryStream())
                {
                    // Copy file content to memory stream
                    file.CopyTo(memoryStream);
                    // Create request with file name, bucket name and file content/memory stream
                    var request = new TransferUtilityUploadRequest
                    {
                        InputStream = memoryStream,
                        // File name
                        Key = file.FileName,
                        // S3 bucket name
                        BucketName = "my-bucket-1425",
                        // File content type
                        ContentType = file.ContentType
                    };

                    var transferUtility = new TransferUtility(amazonS3client);
                    await transferUtility.UploadAsync(request);
                }
            }
            ViewBag.Success = "The File has been uploaded successfully on S3 bucket";
            return View("Index");
        }
    }
}
You have to copy the Access key ID and Secret access key from the AWS console and paste it into the above place. The region endpoint should be the same as your S3 bucket region. Also, don't forget to update the bucket name.
- UploadFileAsync is used to create a new function in the Aws3Services class and TransferUtility is used for uploading the file to S3.
- TransferUtility provides a simple API for uploading content to or downloading content from Amazon S3.
- TransferUtilityUploadRequest object contains the details of the bucket and the file to be uploaded.
Step 6:
Go to the "Index.cs" and place the below code,
@{
    ViewData["Title"] = "Home Page - File Upload to S3";
}

<form enctype="multipart/form-data" method="post" asp-controller="Home" asp-action="UploadFileToS3">
    <dl>
        <dt style="margin-bottom: 20px">
            <label>File Upload to S3 Bucket</label>
        </dt>
        <dd>
            <input type="file" name="file" id="file">

        </dd>
    </dl>
    <input class="btn btn-success" type="submit" value="Upload to S3" />
</form>
@if (ViewBag.Success != null)
{
    <div>@ViewBag.Success</div>
}
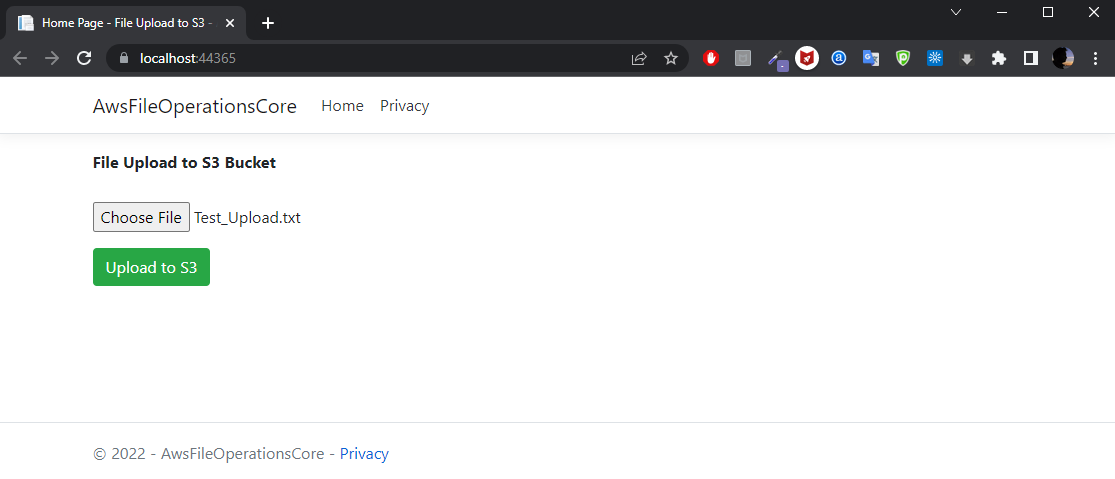
Output:
Choose a file and click the "Upload to S3" button.
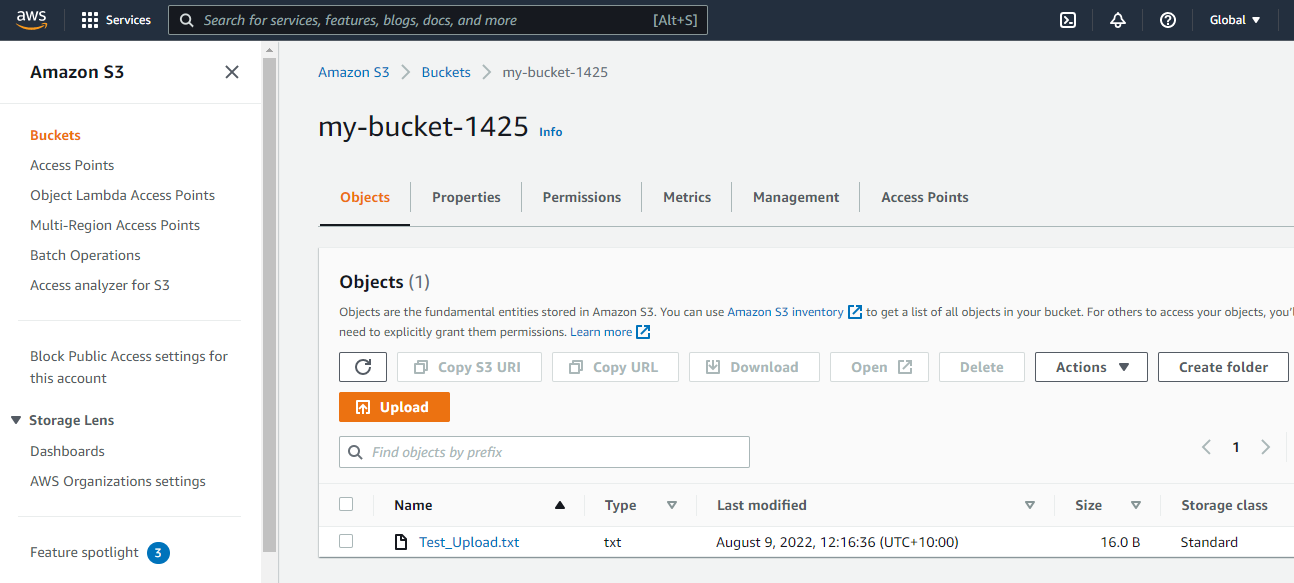
The selected file is uploaded successfully to the AWS S3 bucket.
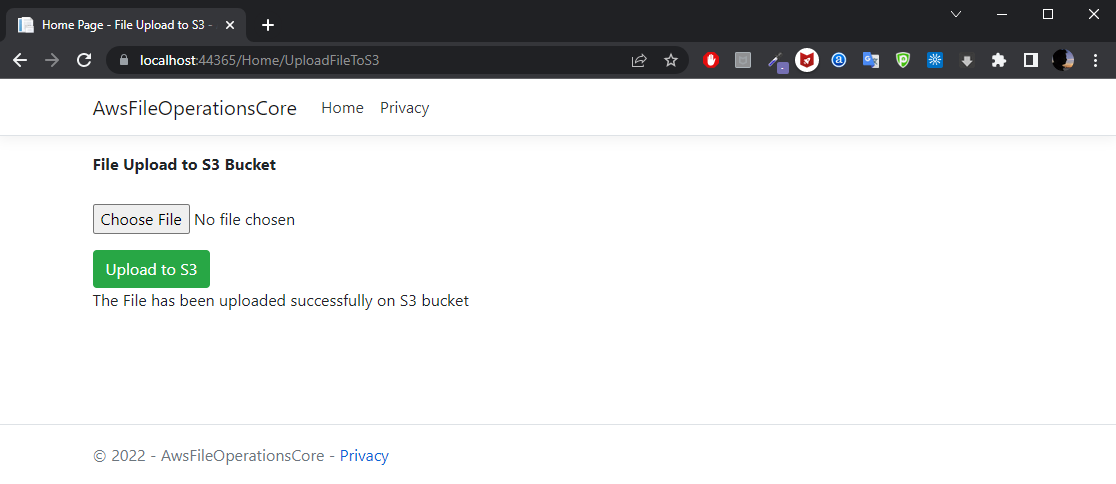
To verify, please go to the AWS S3 bucket and open the bucket (my bucket: my-bucket-1425) and see the uploaded file is present inside the bucket.
Related articles,
- How to Download Files From AWS S3 Using ASP.NET Core?
- How to Create an AWS S3 Bucket, Upload, Download, and Delete File Using AWS Console
Comments (0)