
Setting up UiPath for the first time/UiPath Installation
In this tutorial, we will set up UiPath Community Version and provide a step by step tutorial to download and install it.

Step 1:
- First, visit the website UiPath’s official at uipath.com and click on "Try UiPath free" on the top right corner of your screen.
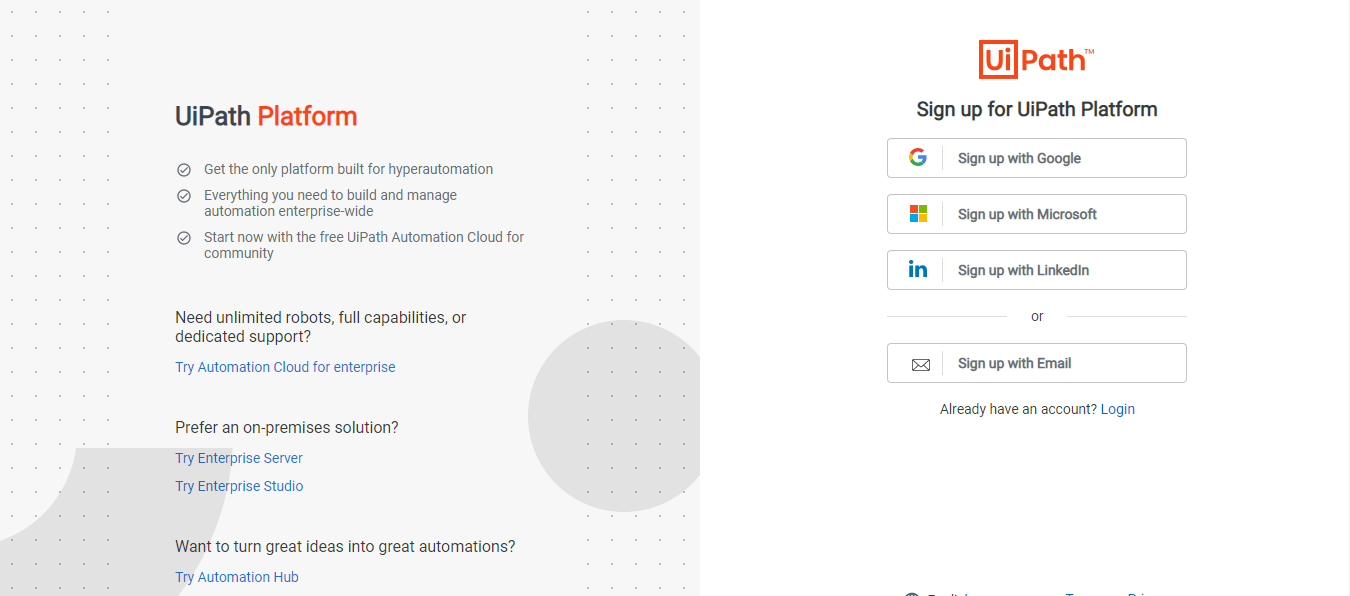
- Upon clicking, you will be redirected to a new tab, where he/she will be asked to register
- Now you need to sign up to the UiPath platform using your Email, Google, Microsoft live account, or even LinkedIn. If you can already have an account you can log in using the blue "Login" button just below the "Sign up with Email" option.
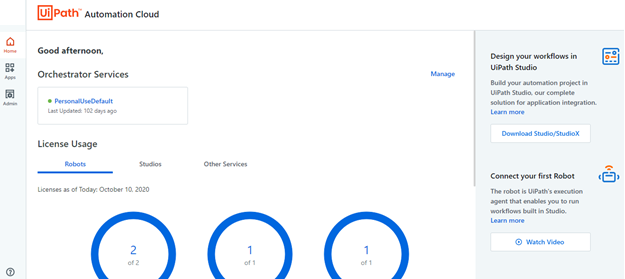
- The entire registration process only takes a couple of seconds and once it is done, you should be presented with this screen. This is the UiPath automation cloud server from where you can manage orchestrator actions, which is setting up your robotic fleet to perform various functions and the entire operation will be handled by the cloud servers.
Step 2:
- For downloading UiPath just click on the “Download Studio/StudioX” option visible on eight hand side of your screen. This should present you with the “UiPathStudioSetup.exe” file of 279 MB approximately.
- Once successfully downloaded, open that file and you should witness an UiPath loading screen like this
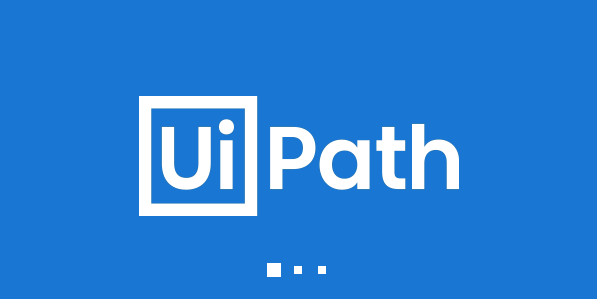
- This means that UiPath studio is presently working on the setup files and installation has already begun. Wait for the loading to complete its operation, which may last up to 10 minutes depending upon your system.
Step 3:
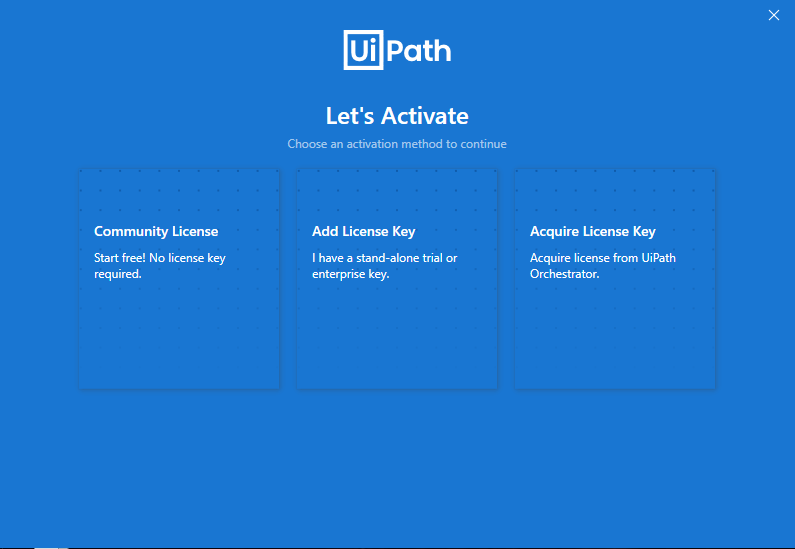
- Once UiPath loads itself into the system, you need to choose from the different types of activation method. To use the free Community Version, click on the "Community License" option and it shall move to the next screen. Before clicking on “Community License” make sure you are connected to the internet.
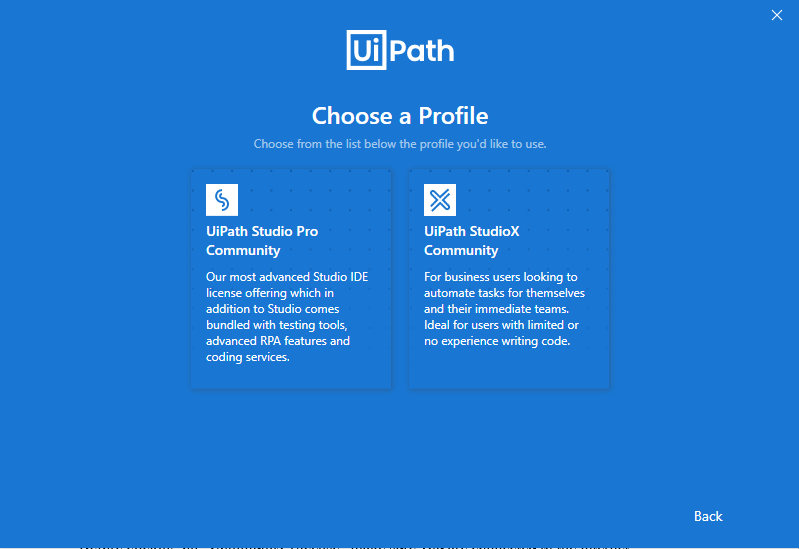
- Once UiPath validates your community License, you will be welcomed to choose a profile. UiPath Studio Pro Community – This is for users with strong coding skills and has experience in developing various programs and applications. This for the advanced coders who want to implement UiPath automation along with their codes using "invoke code" activity.
- UiPath StudioX Community – This profile is a general usage for users who do not have much coding skills and are looking forward to automating some of the business processes to help their team.
- A user can select this option for personal use as well. For this tutorial, we will use the UiPath Studio Pro Community profile as it has all the features of the UiPath StudioX Community along with enhanced coding implementation options.
- This is the safer option as it allows you to use UiPath for general code free as well as advanced usage, in case you need that anytime in the future.
Step 4:
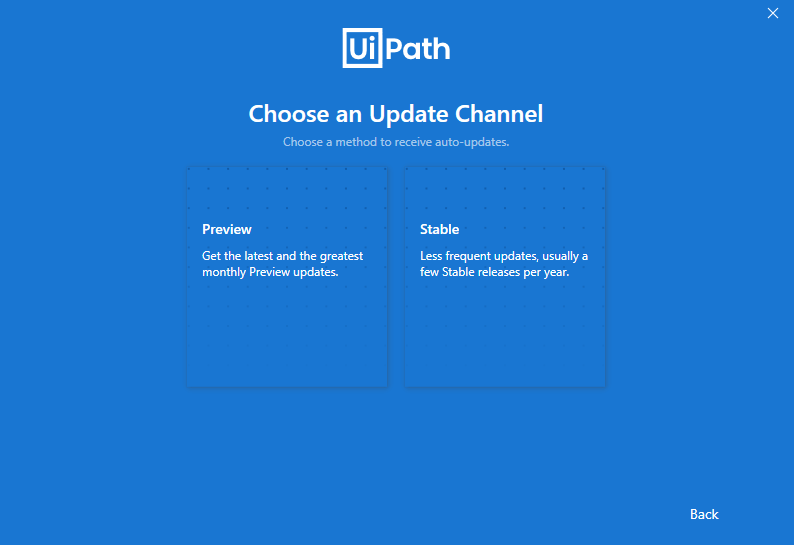
- Just like any application or software, UiPath offers two versions, one is the “Stable” version which is updated once a year, while the other version is "Preview" or their beta version which is updated frequently but is prone to bugs and discrepancies.
- It is recommended to use the "Stable" version for a smoother bug-free experience.
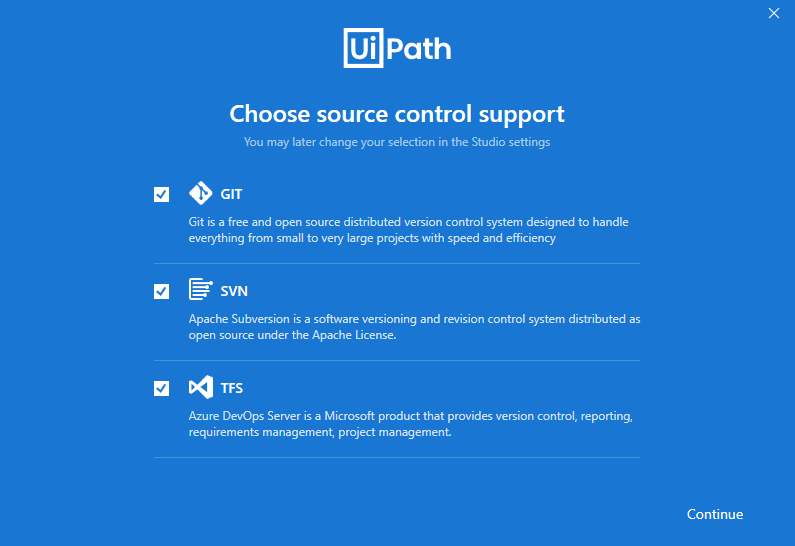
- On choosing your Update channel, you should be presented with this screen. The source control support only appears to users who opted for UiPath Studio Pro Community. Select the options you require or keep as it is.
- You can change these settings later on UiPath studio settings as well. Clicking on “Continue” concludes the entire set up process.
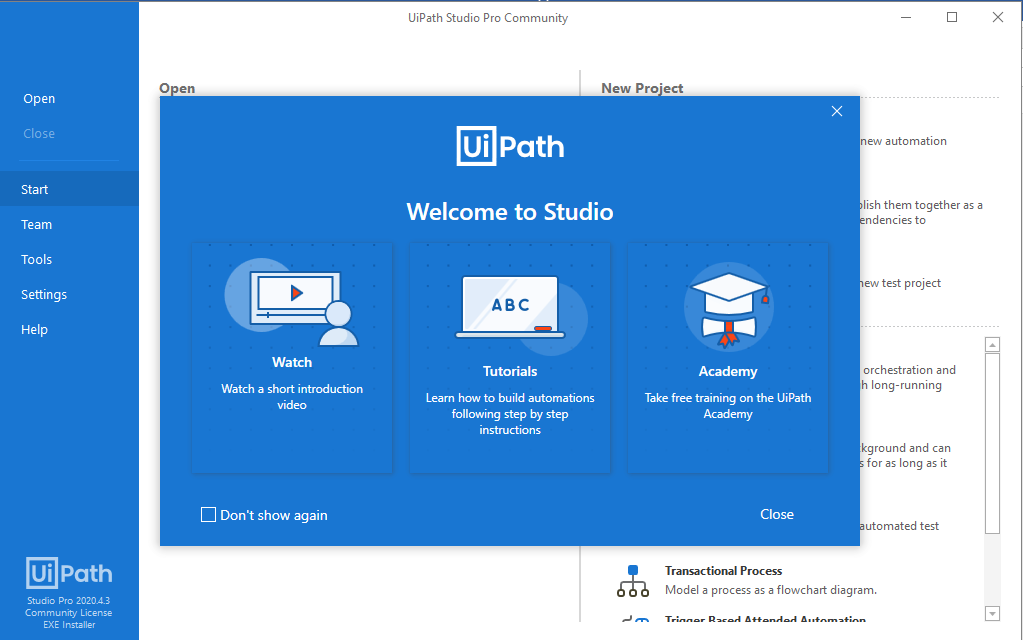
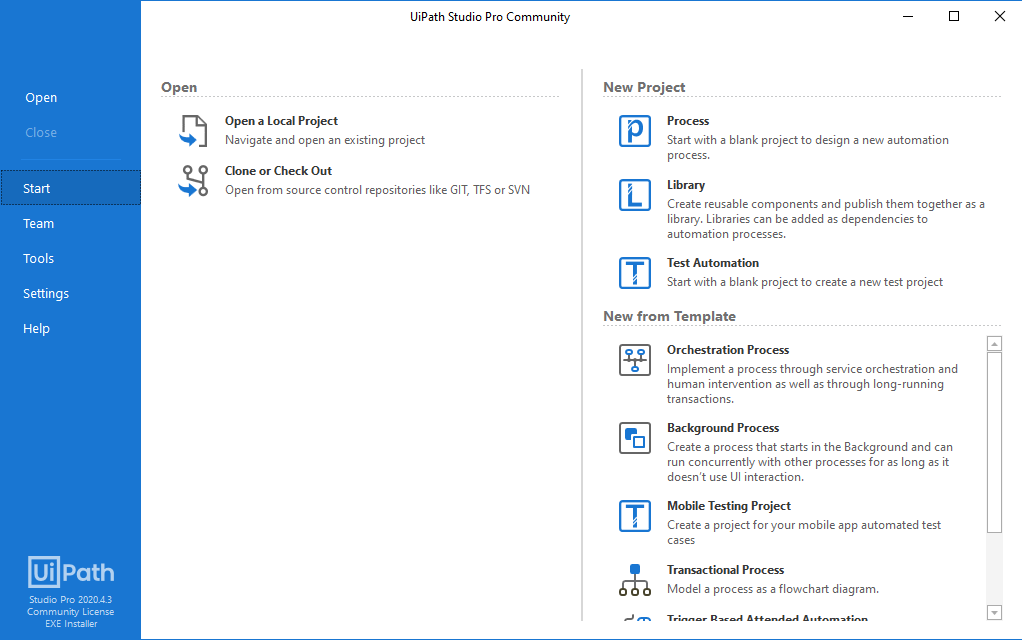
- Once set up is complete, you will be finally welcome with the UiPath studio screen. You can follow the links to watch various tutorials or take training courses as well.
- Upon closing the welcome screen, you can witness the full-fledged UiPath Studio GUI.
Don't have an account? Sign up!